
To add company information to your Juvo account, follow steps below:
1) Go into the Admin section by clicking on the user icon and name.
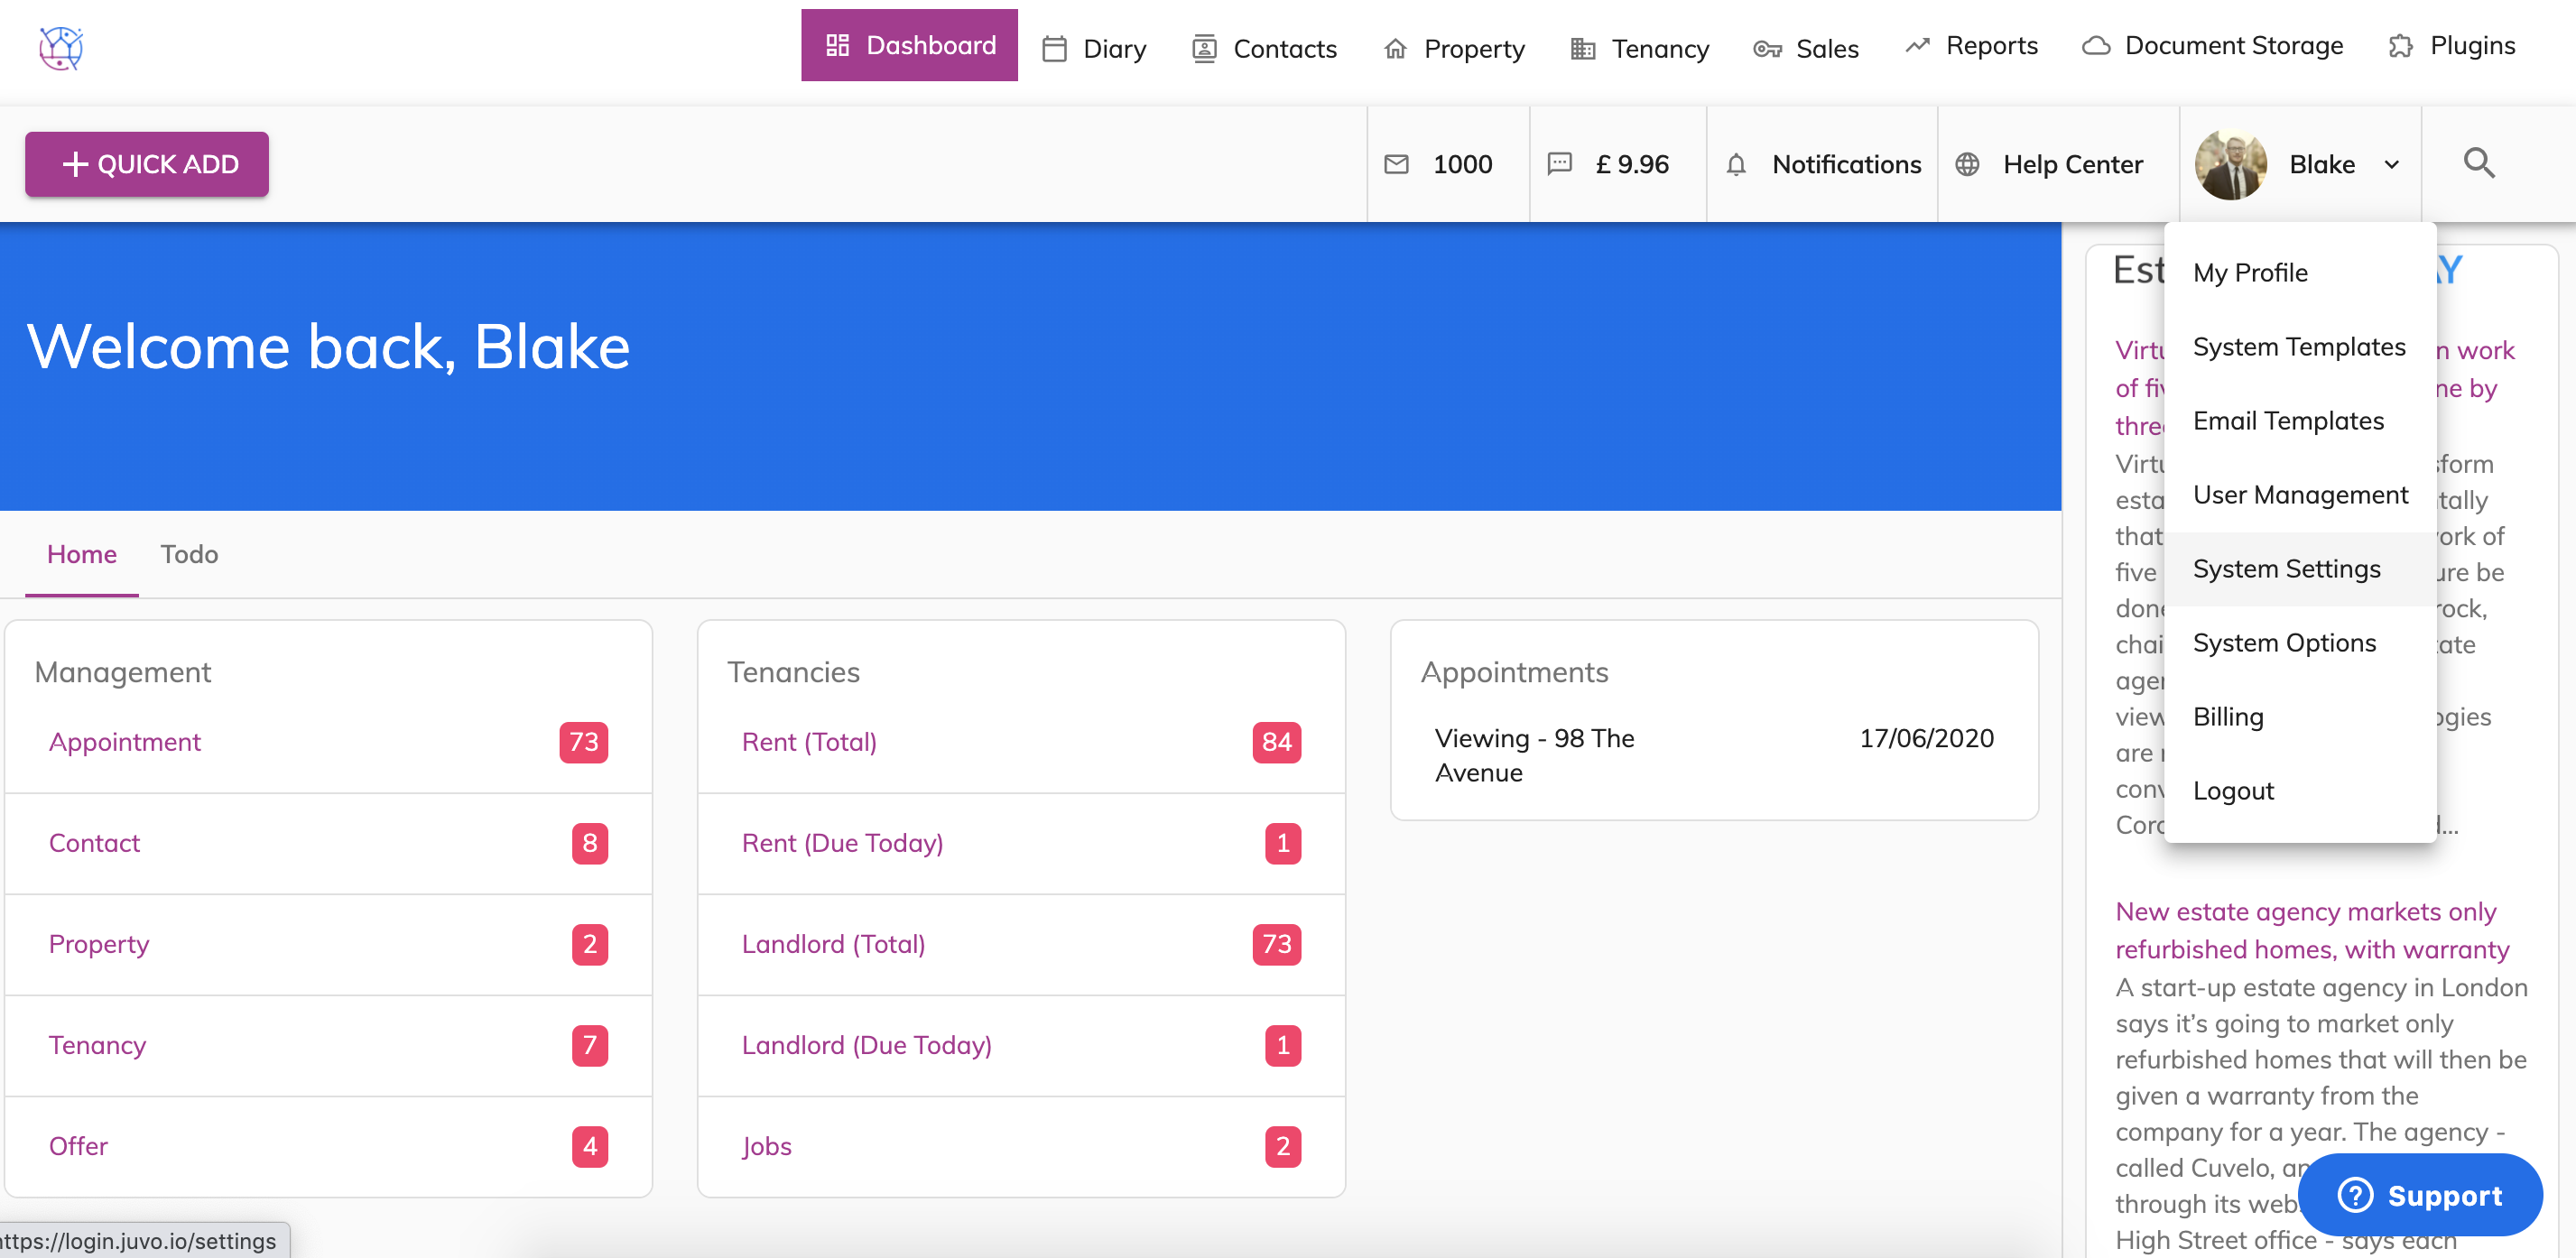
2) Select System Settings from the dropdown.
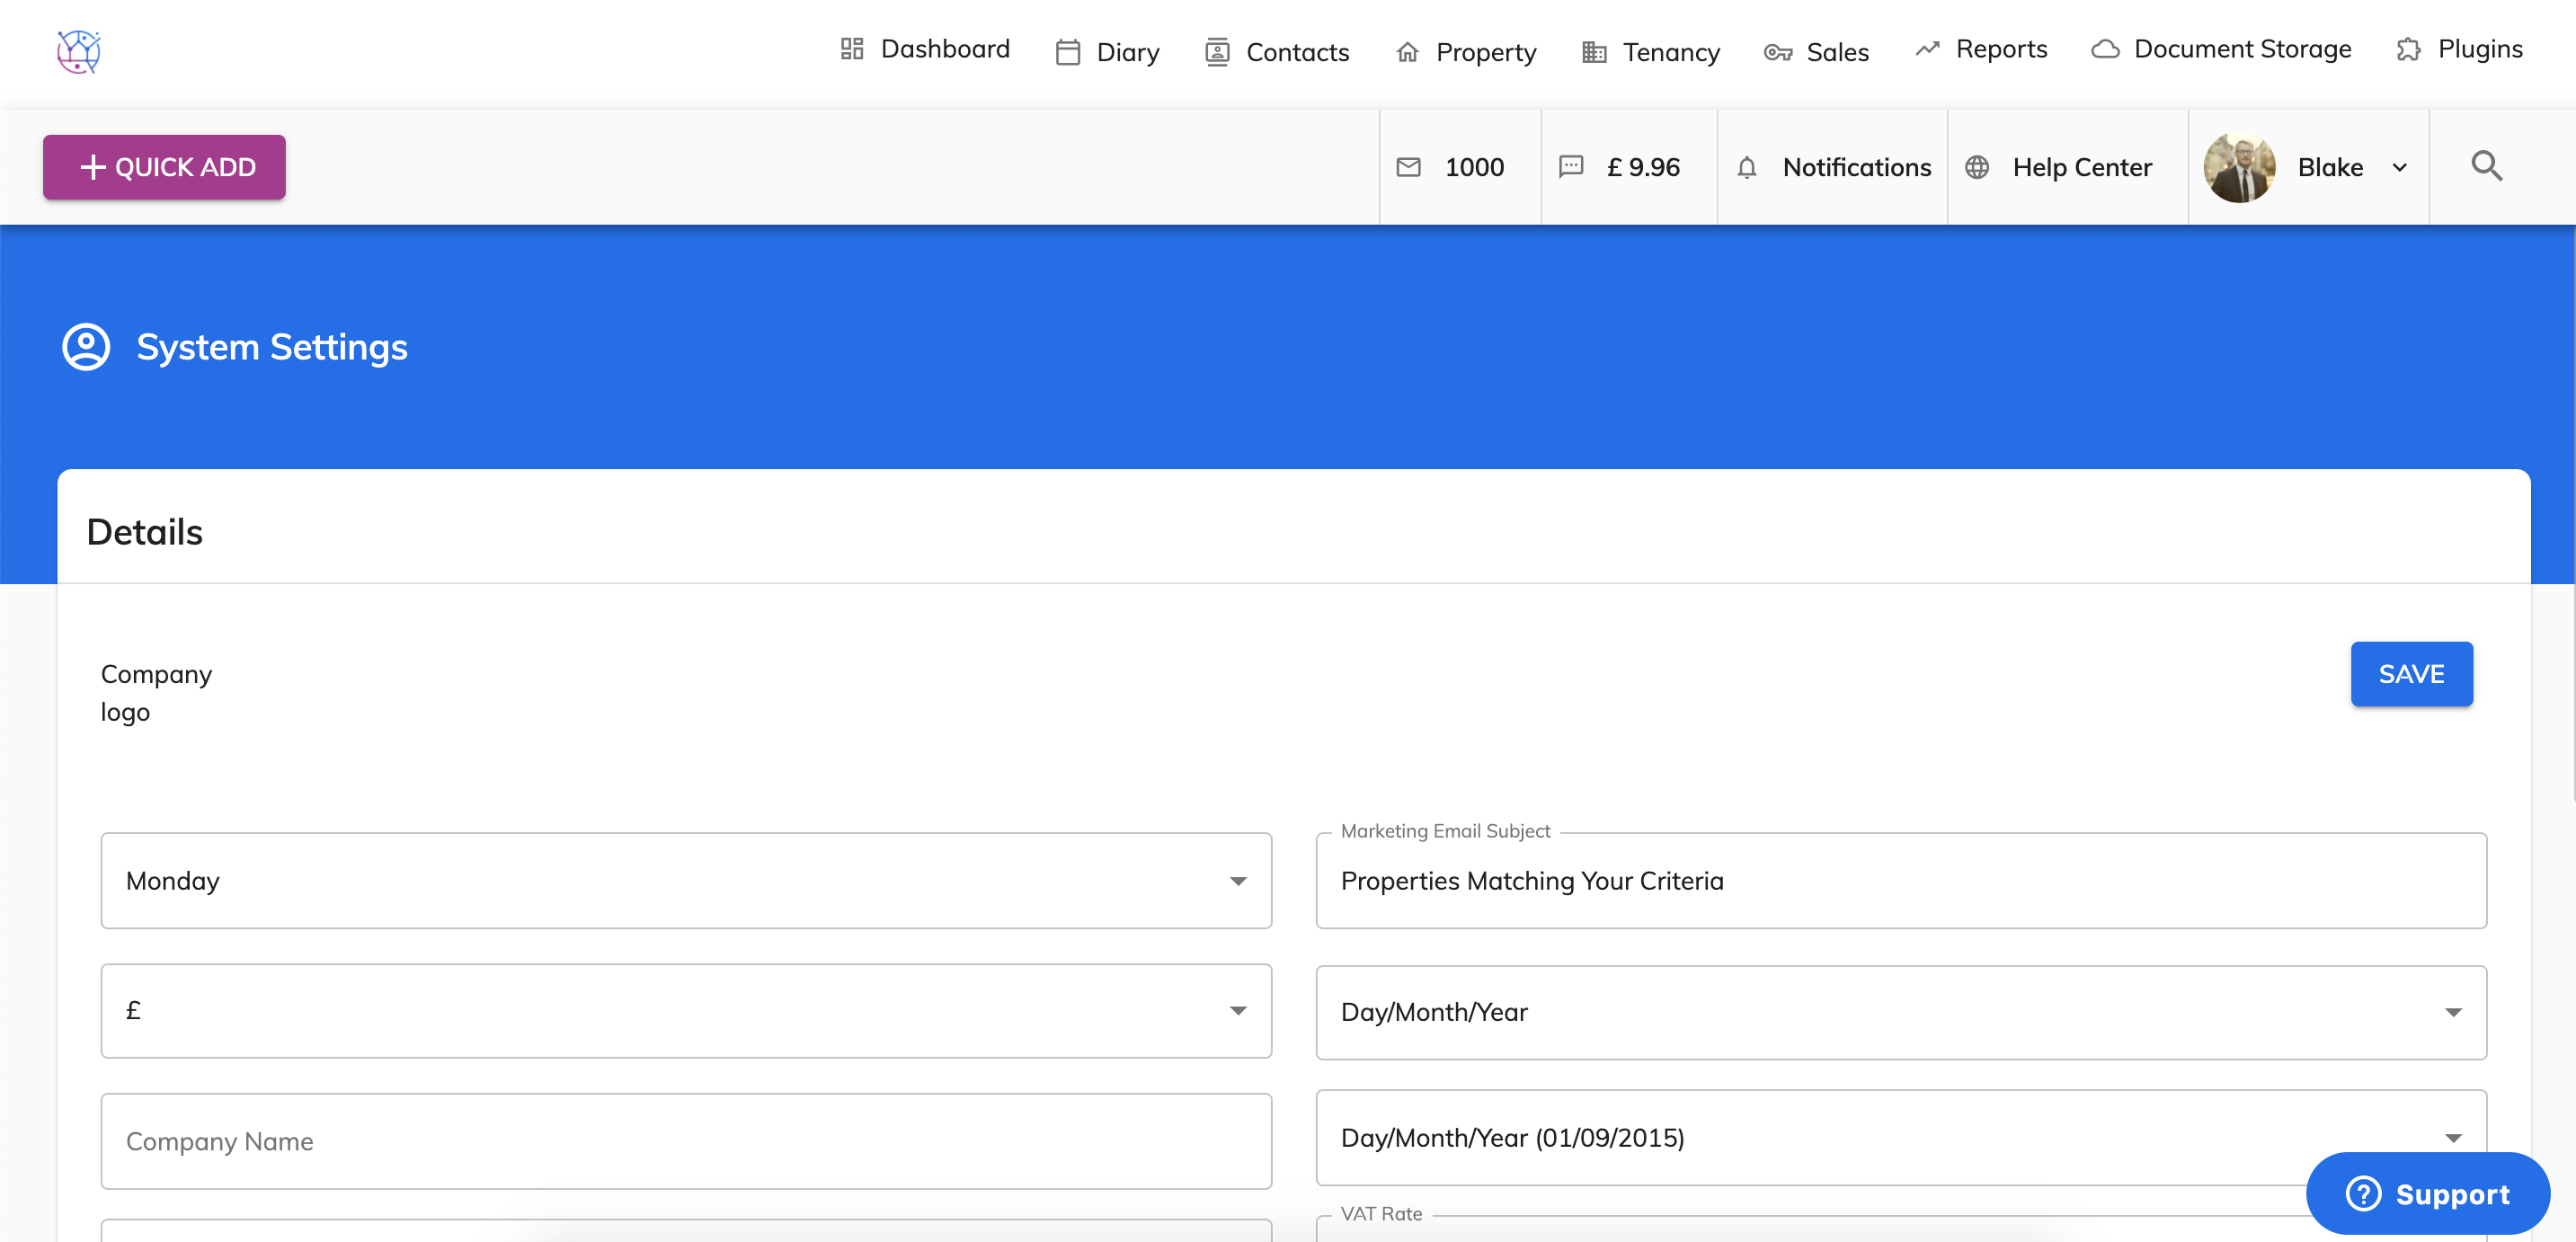
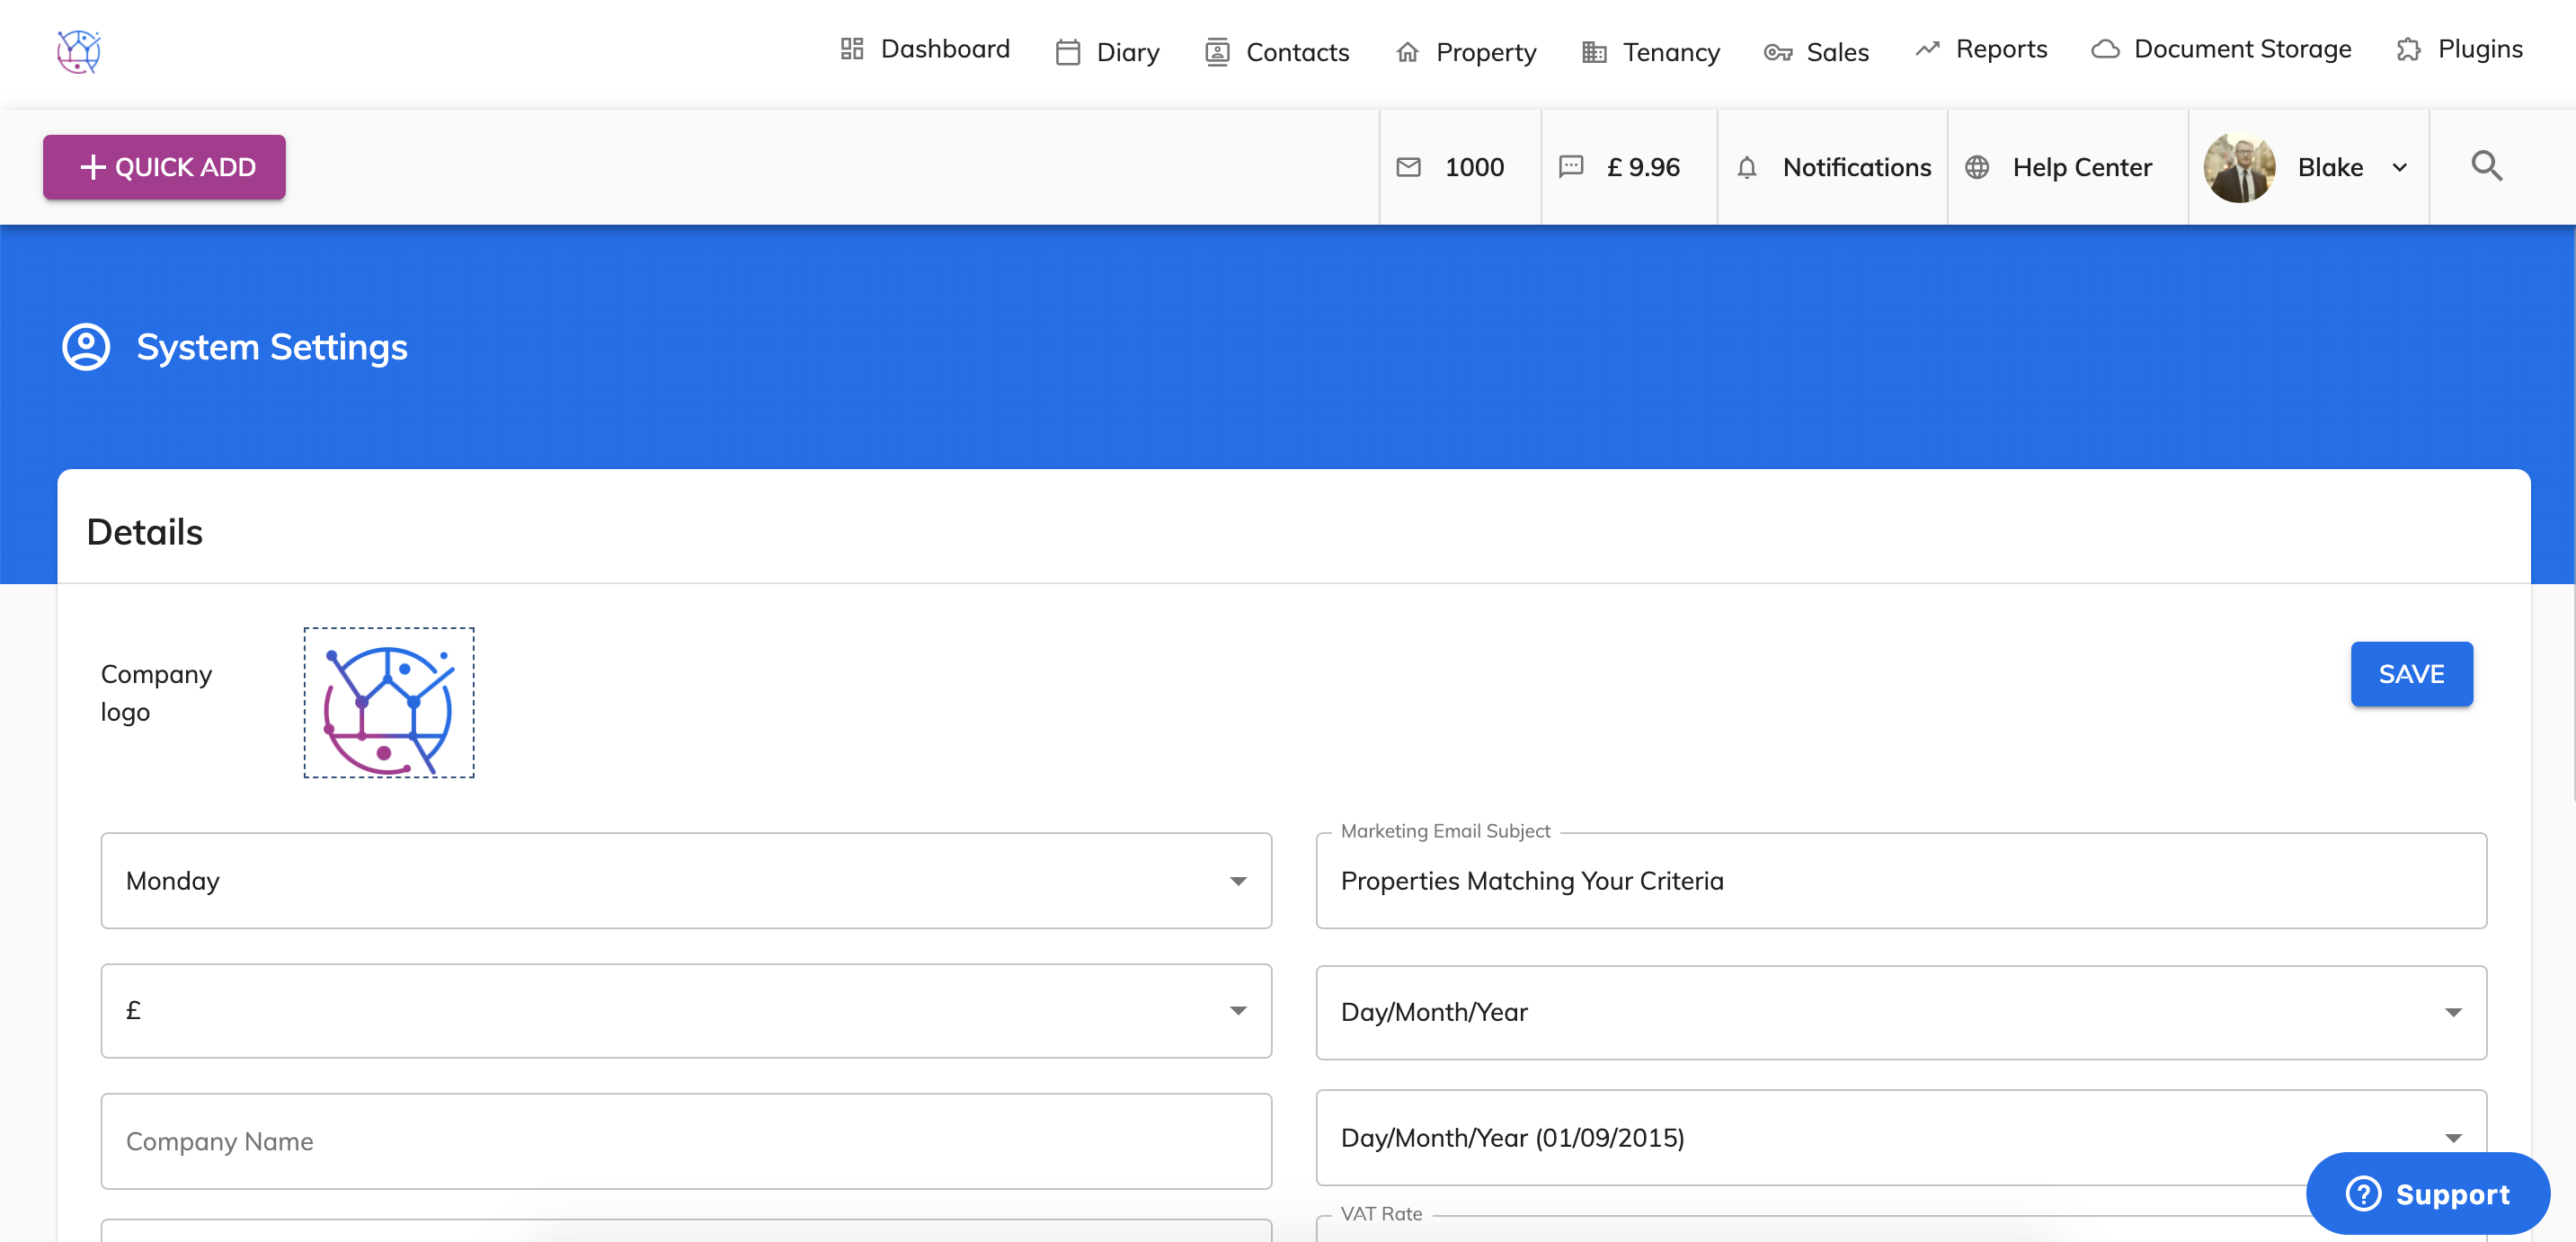
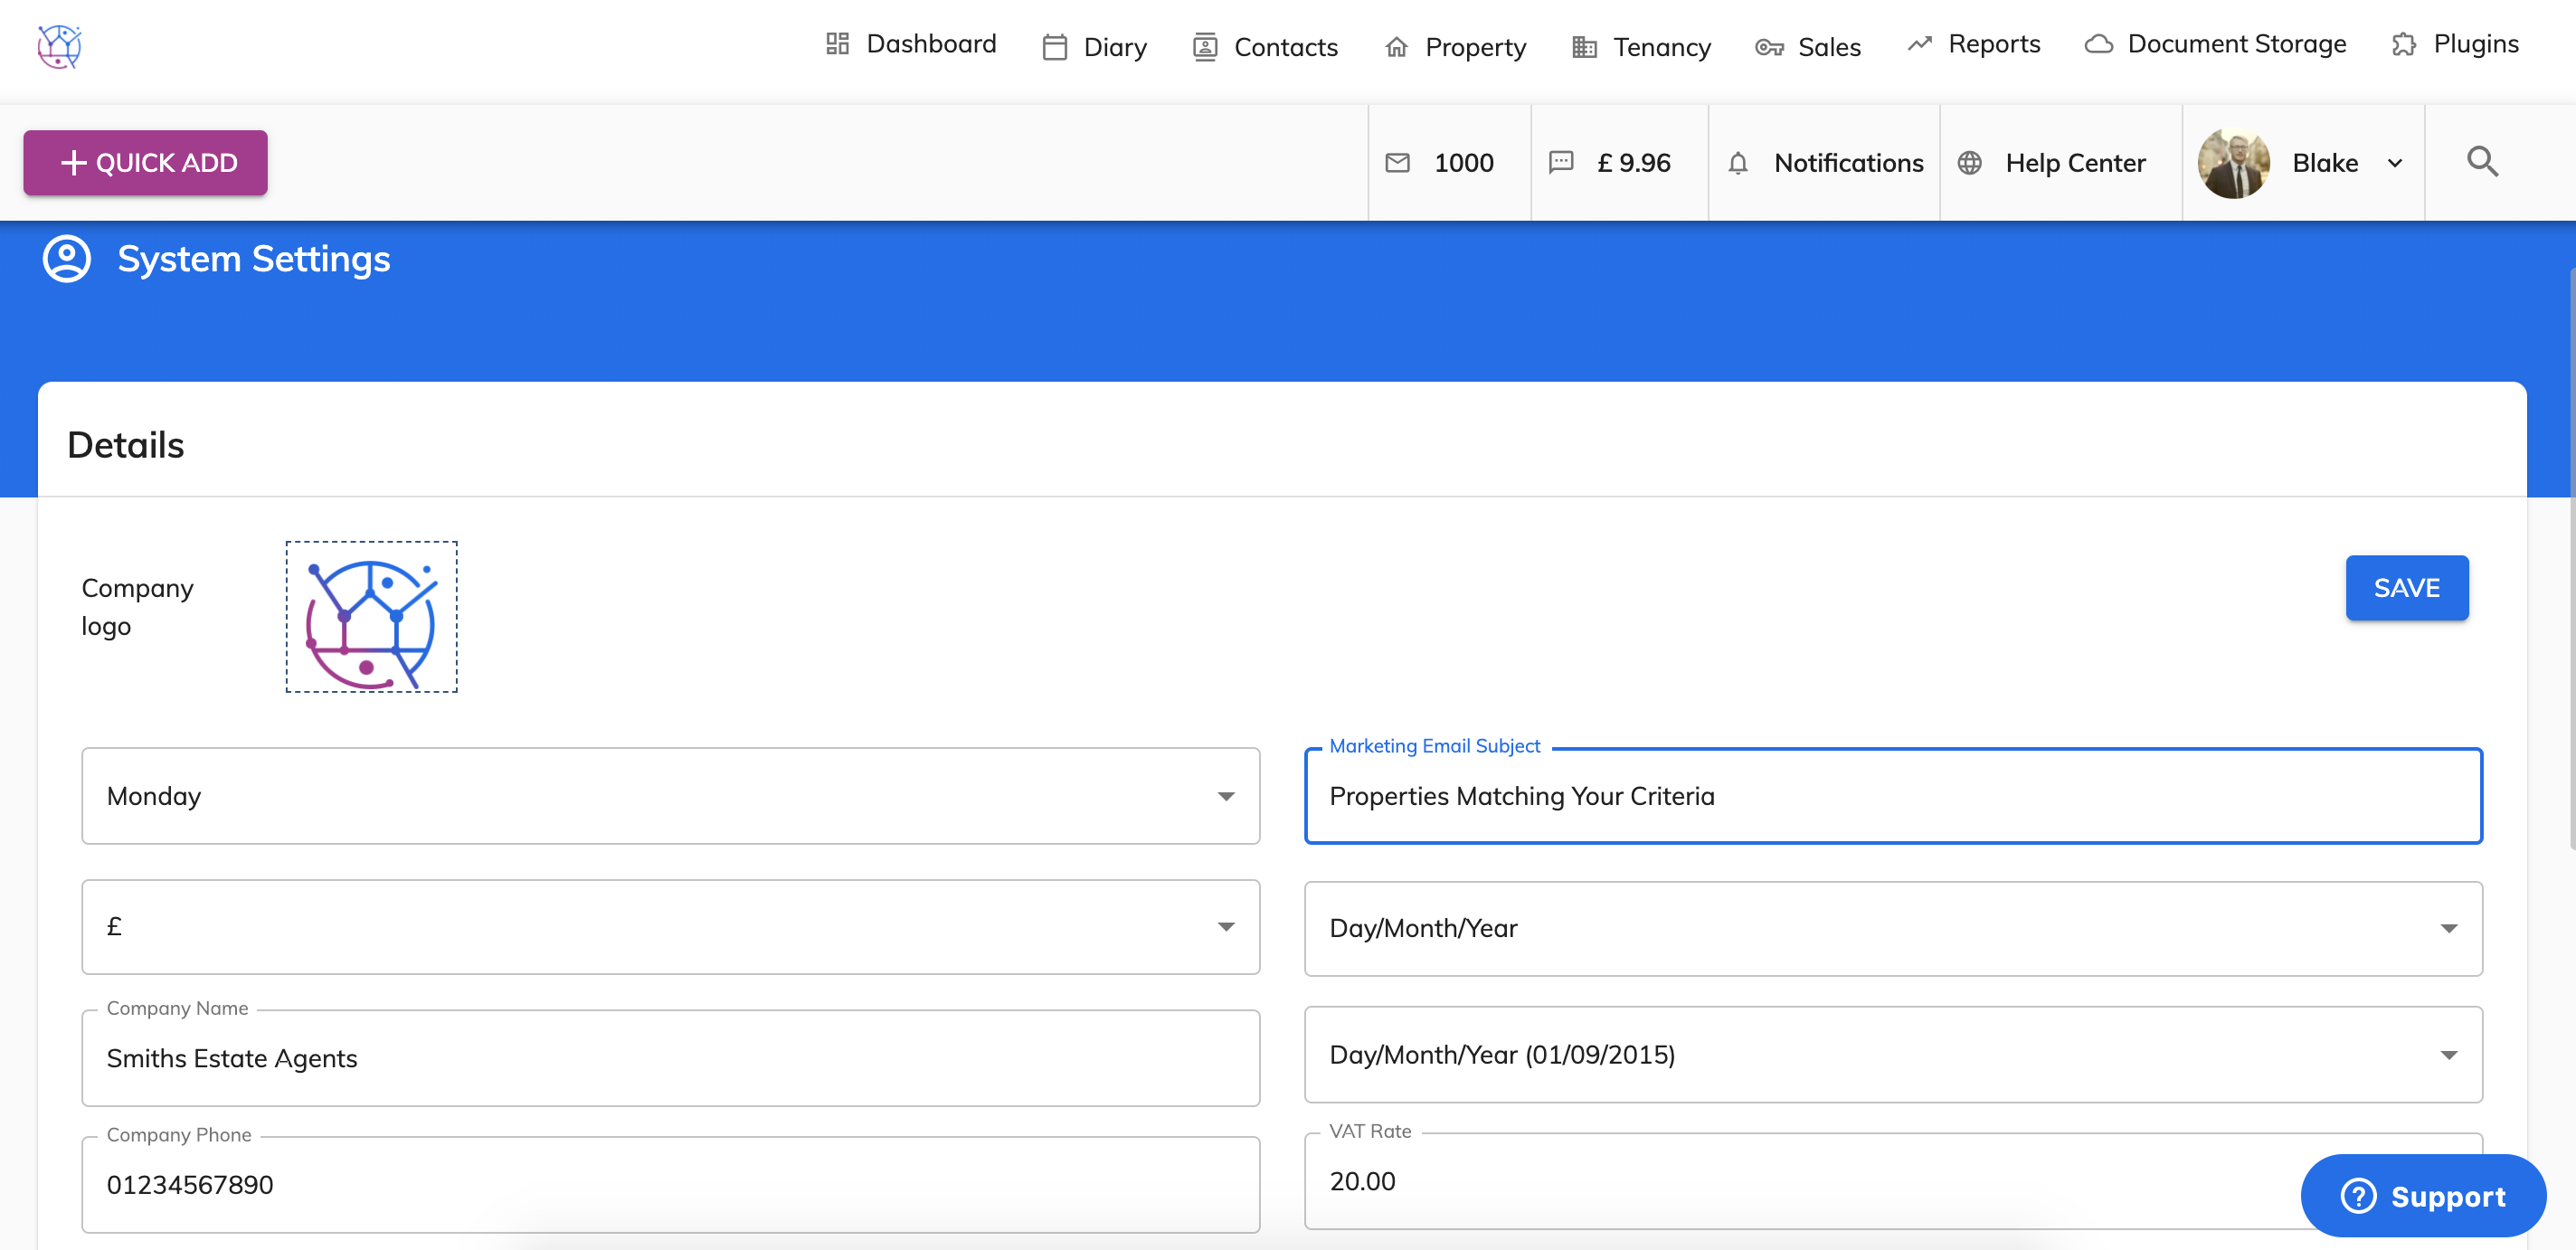
3) First upload your logo. Click on the logo icon at the top of the page, select the image (in either a png or jpeg format), press open. This will upload the logo into your Juvo account.
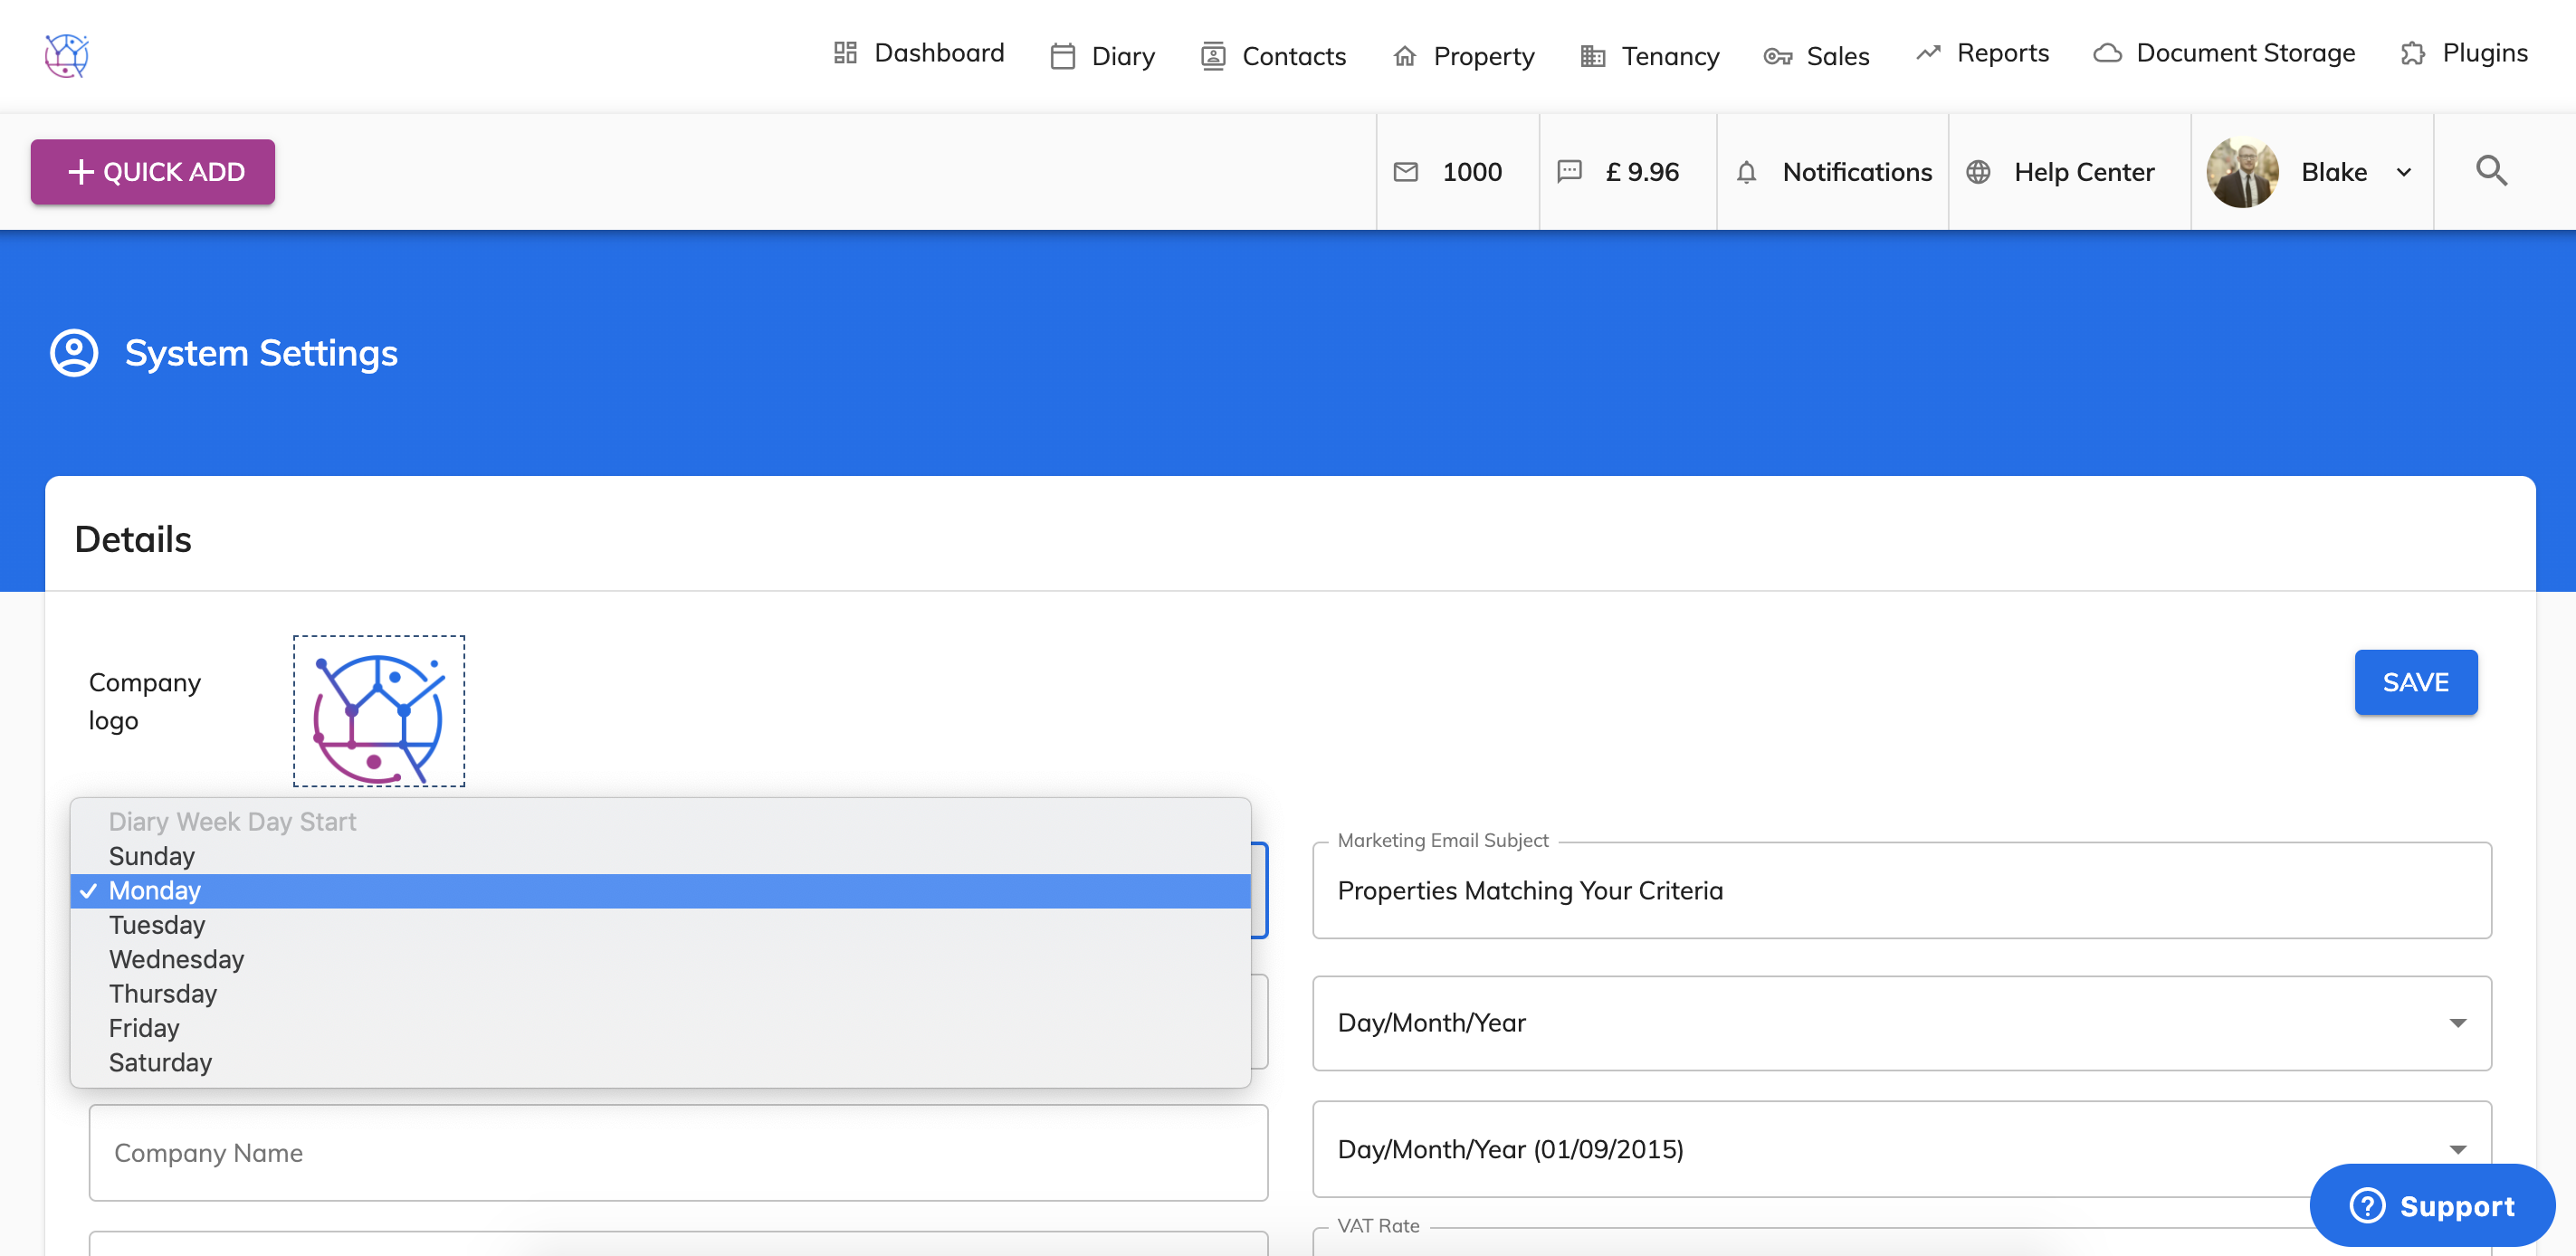
4) Choose which day of the week you would like the diary to start from.
5) Change the currency symbol from the dropdown.

6) Enter your company name.
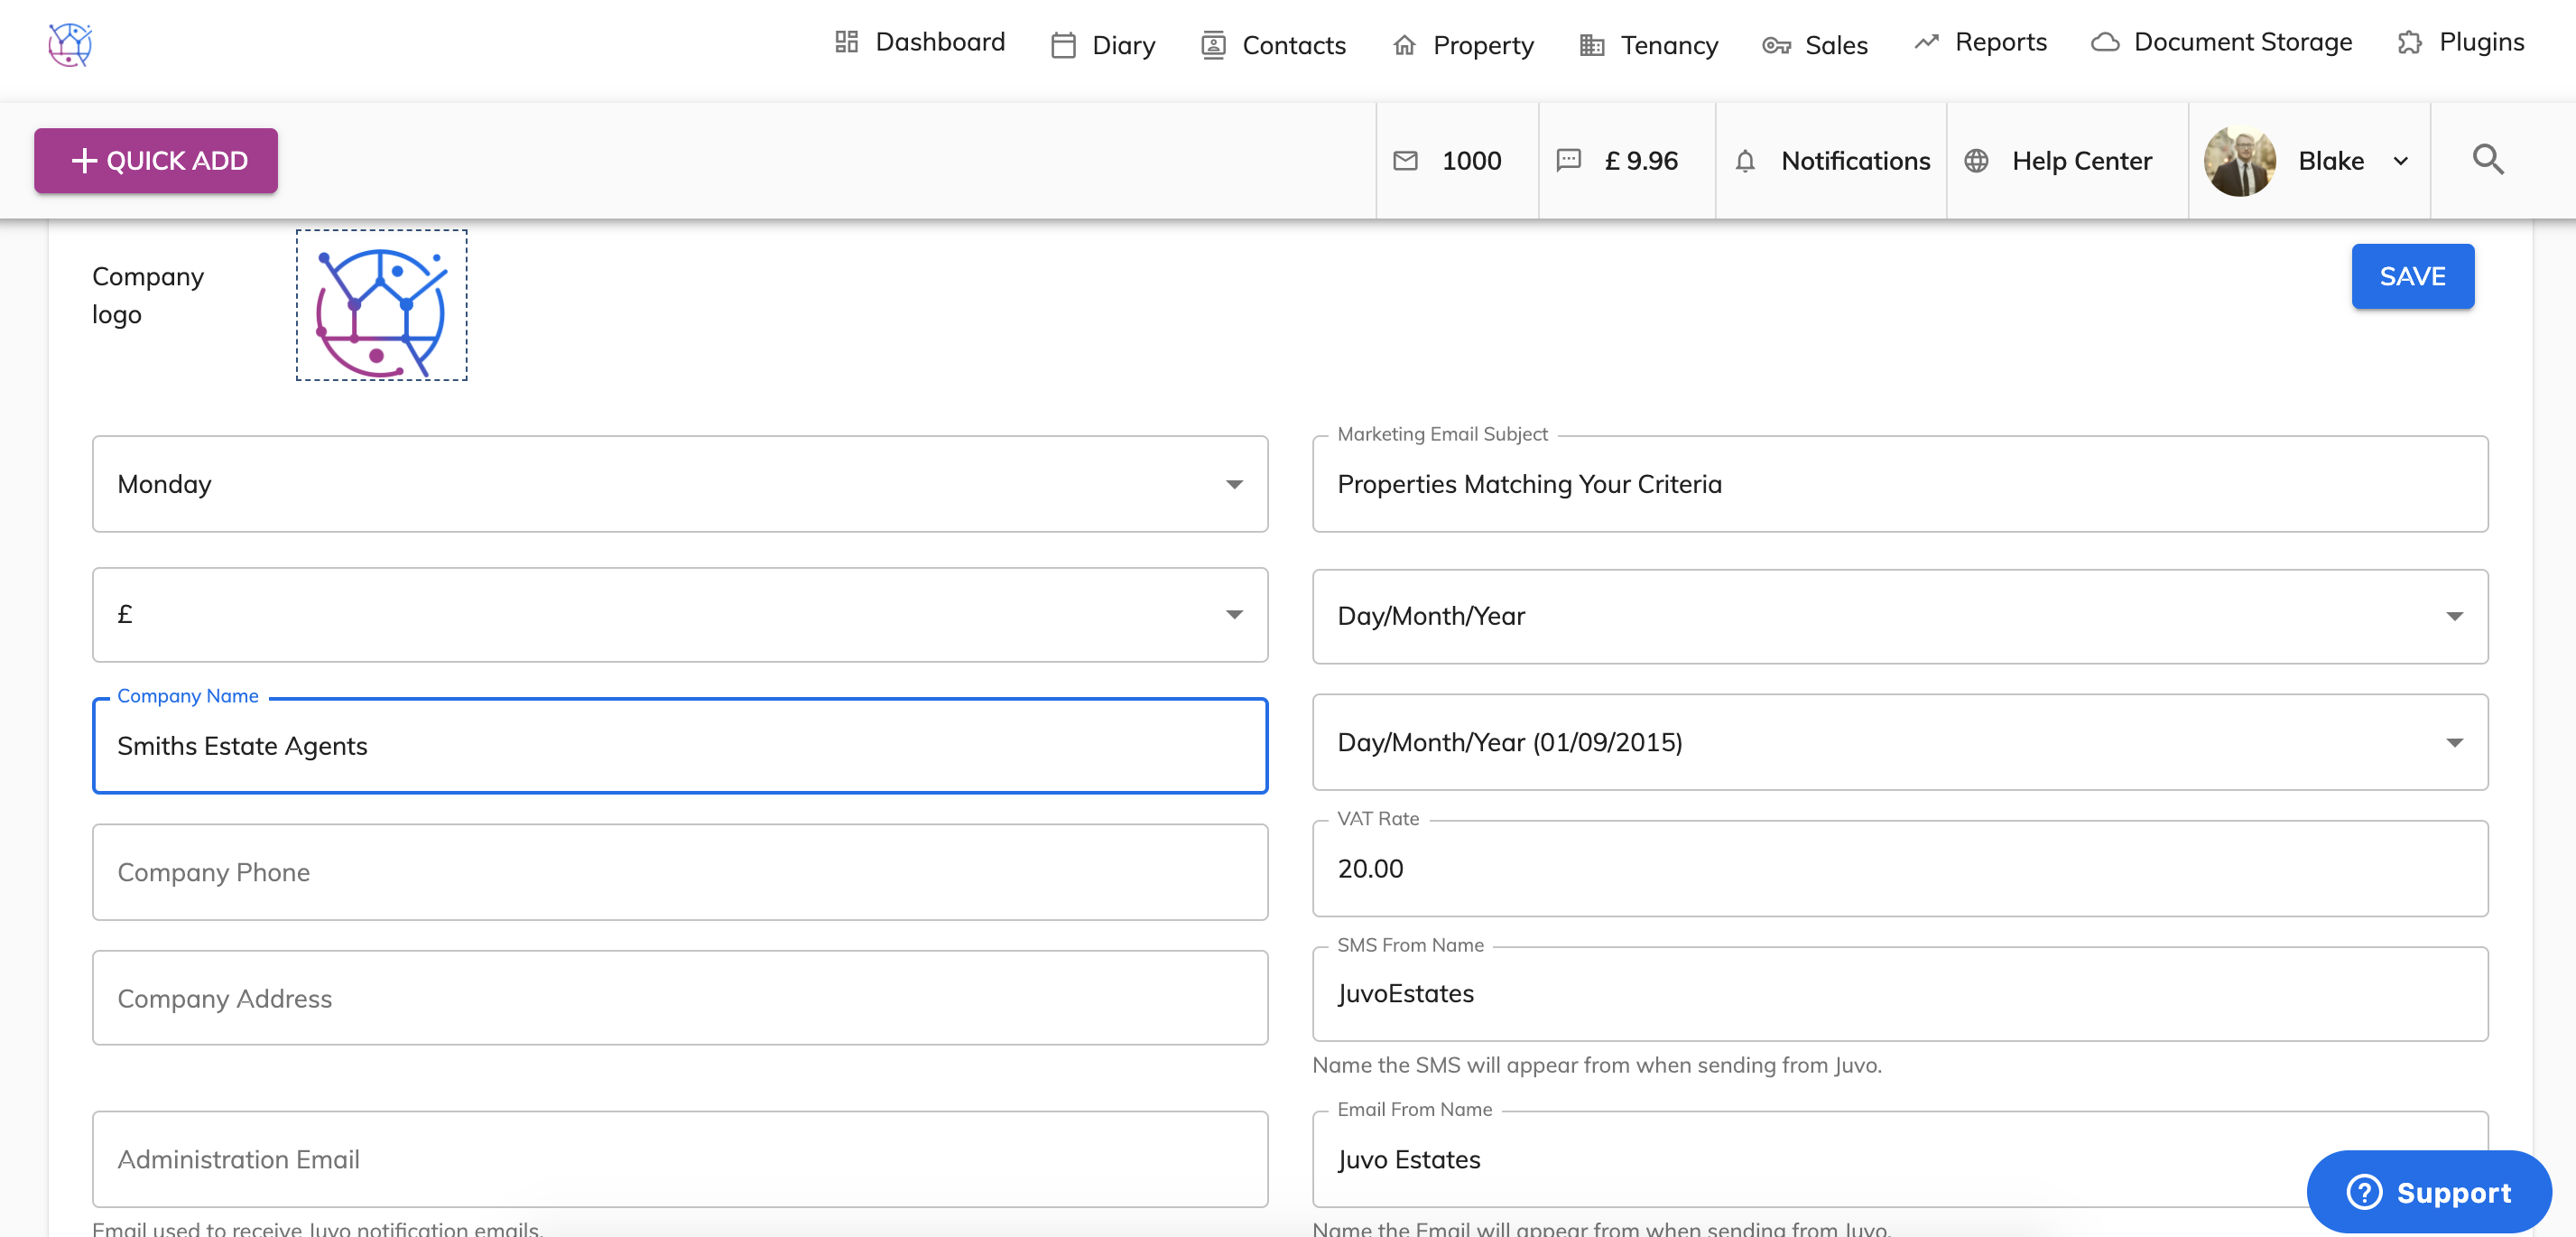
This name will appear on your templates created in Juvo. As well as the Juvo invoice for your Juvo subscription.
7) Enter the company telephone number.
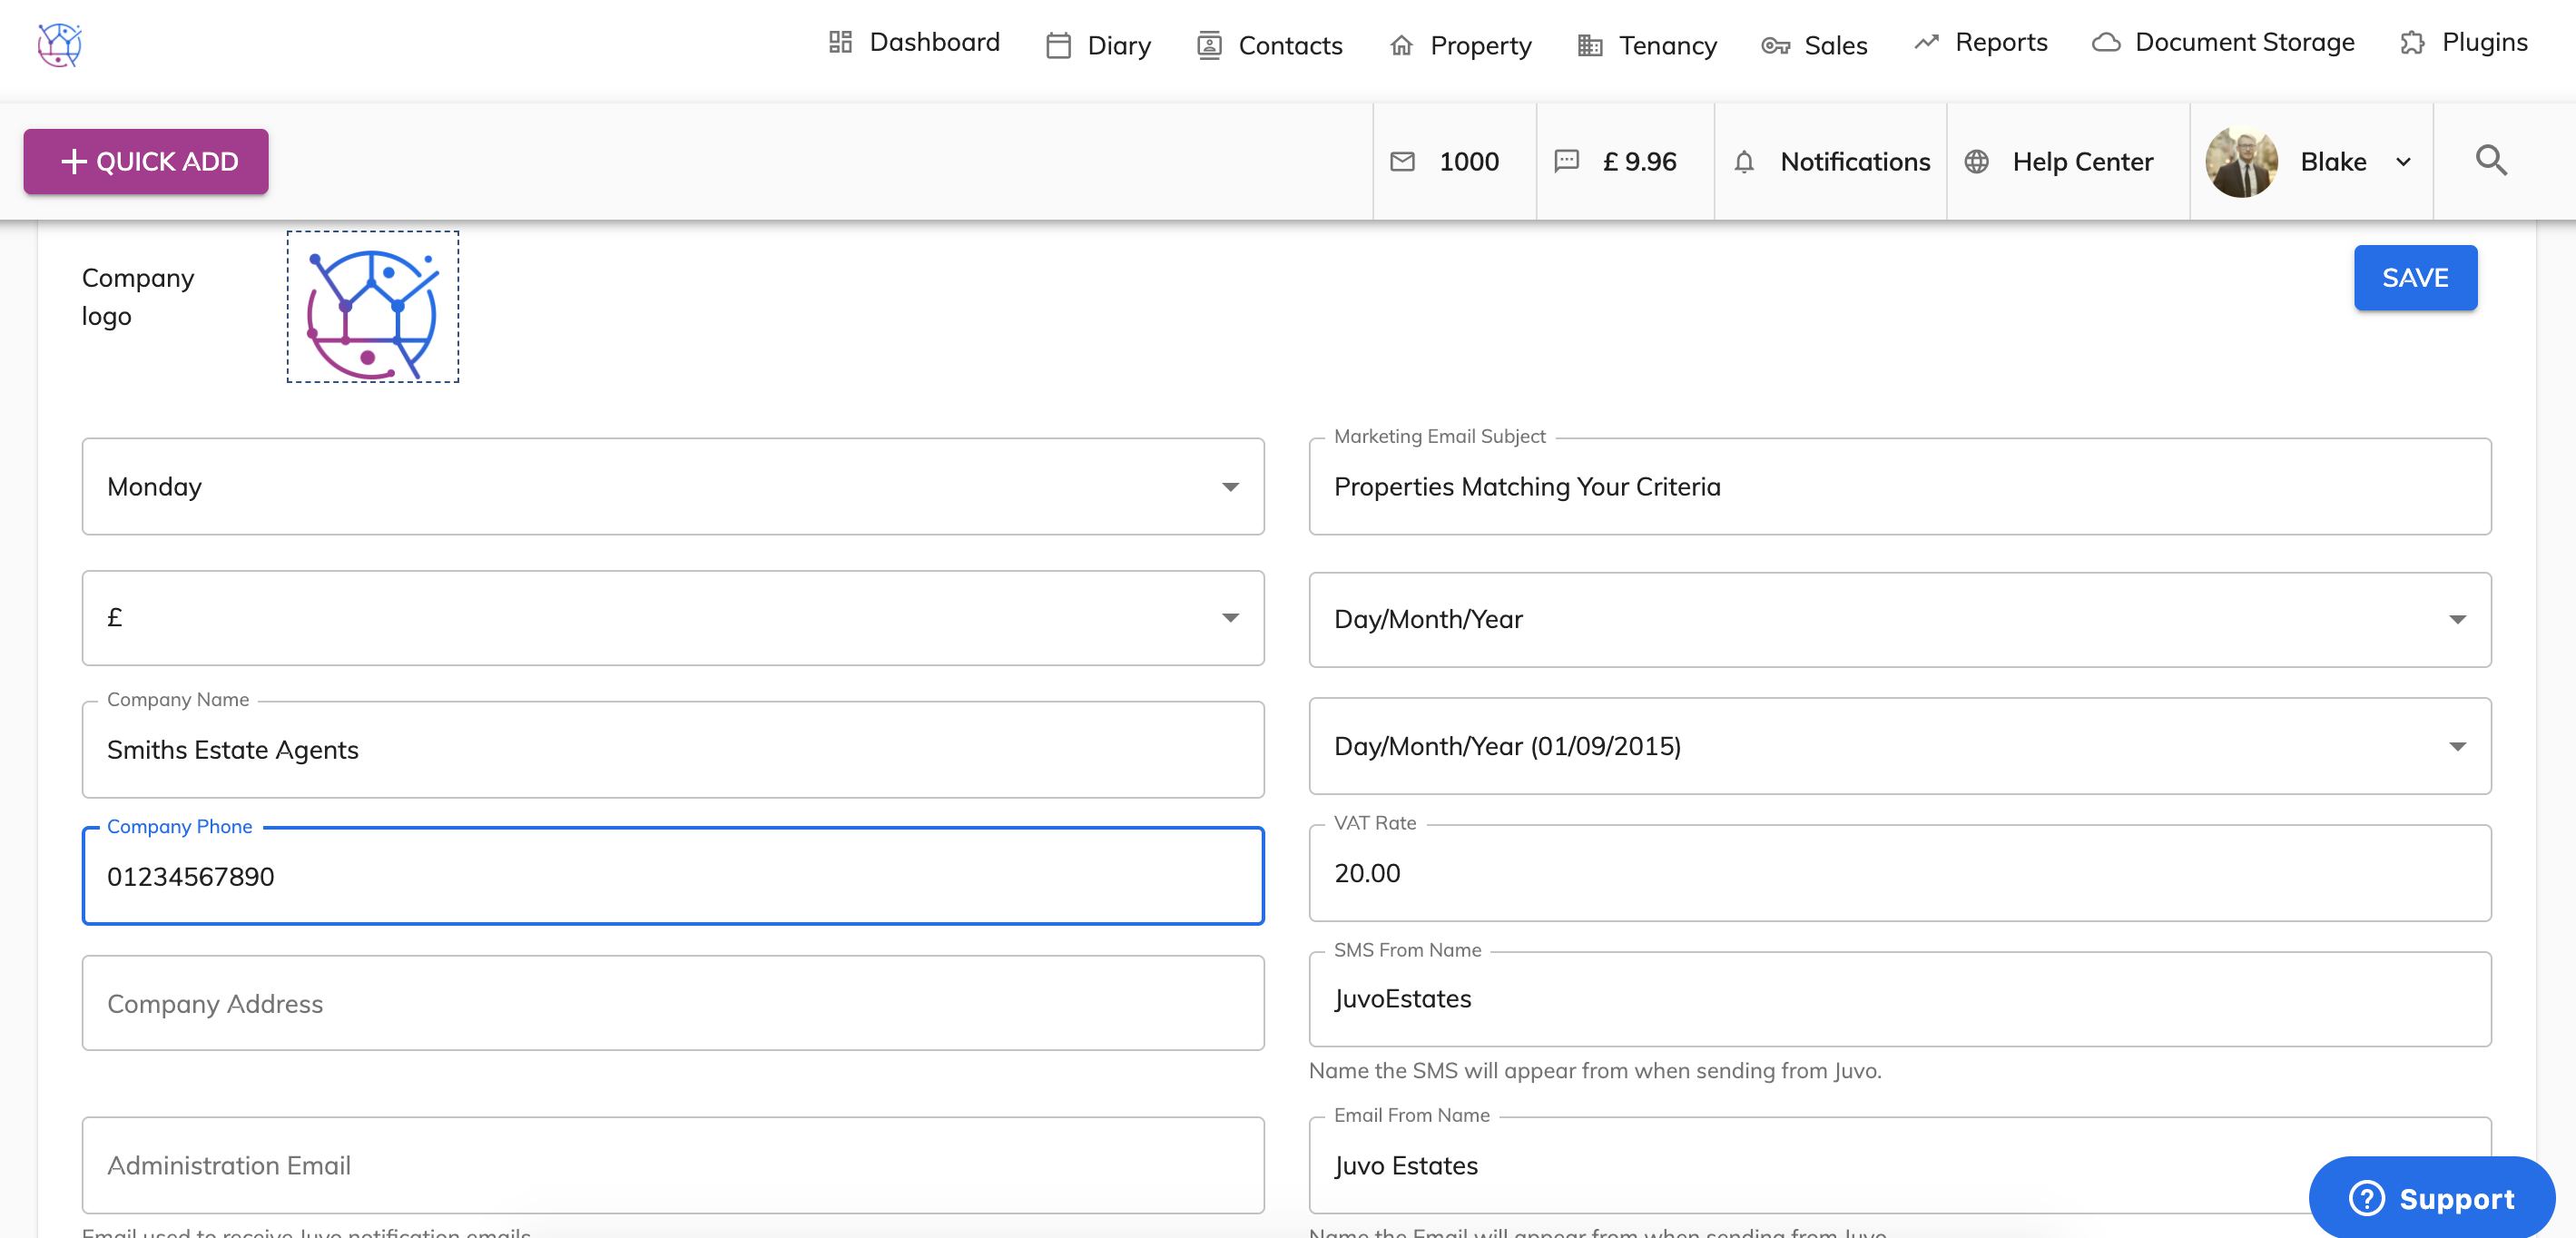
This telephone number will appear on your templates created in Juvo.
8) Enter the company address.
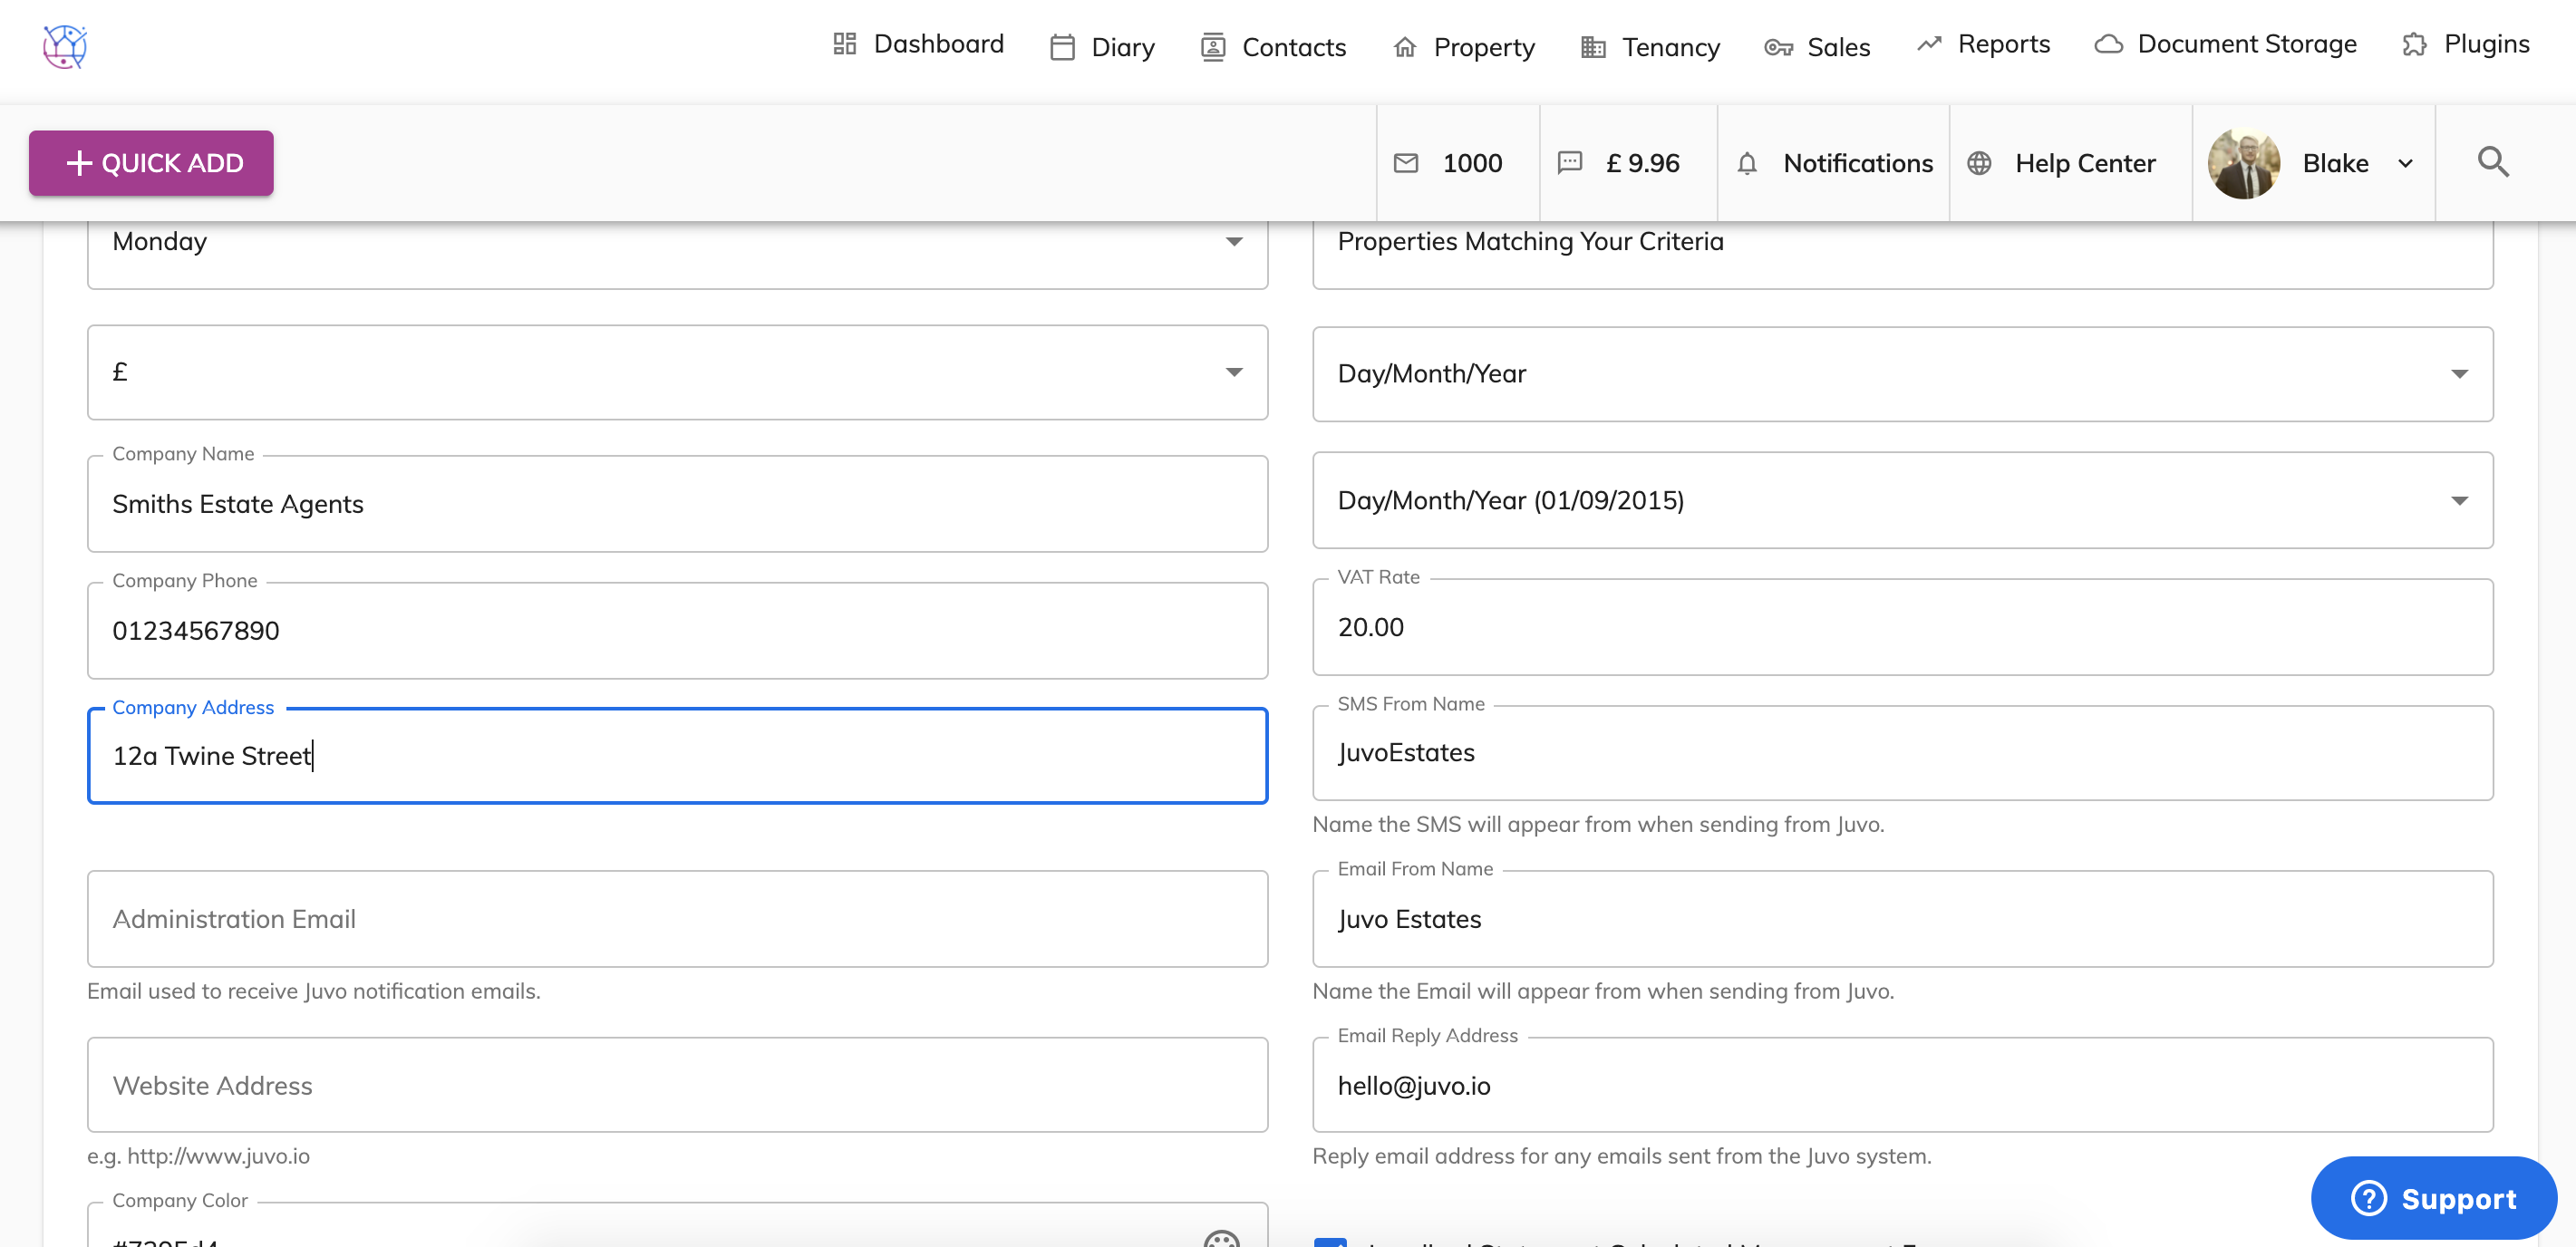
This company address will appear on your templates created in Juvo. As well as the Juvo invoice for your Juvo subscription.
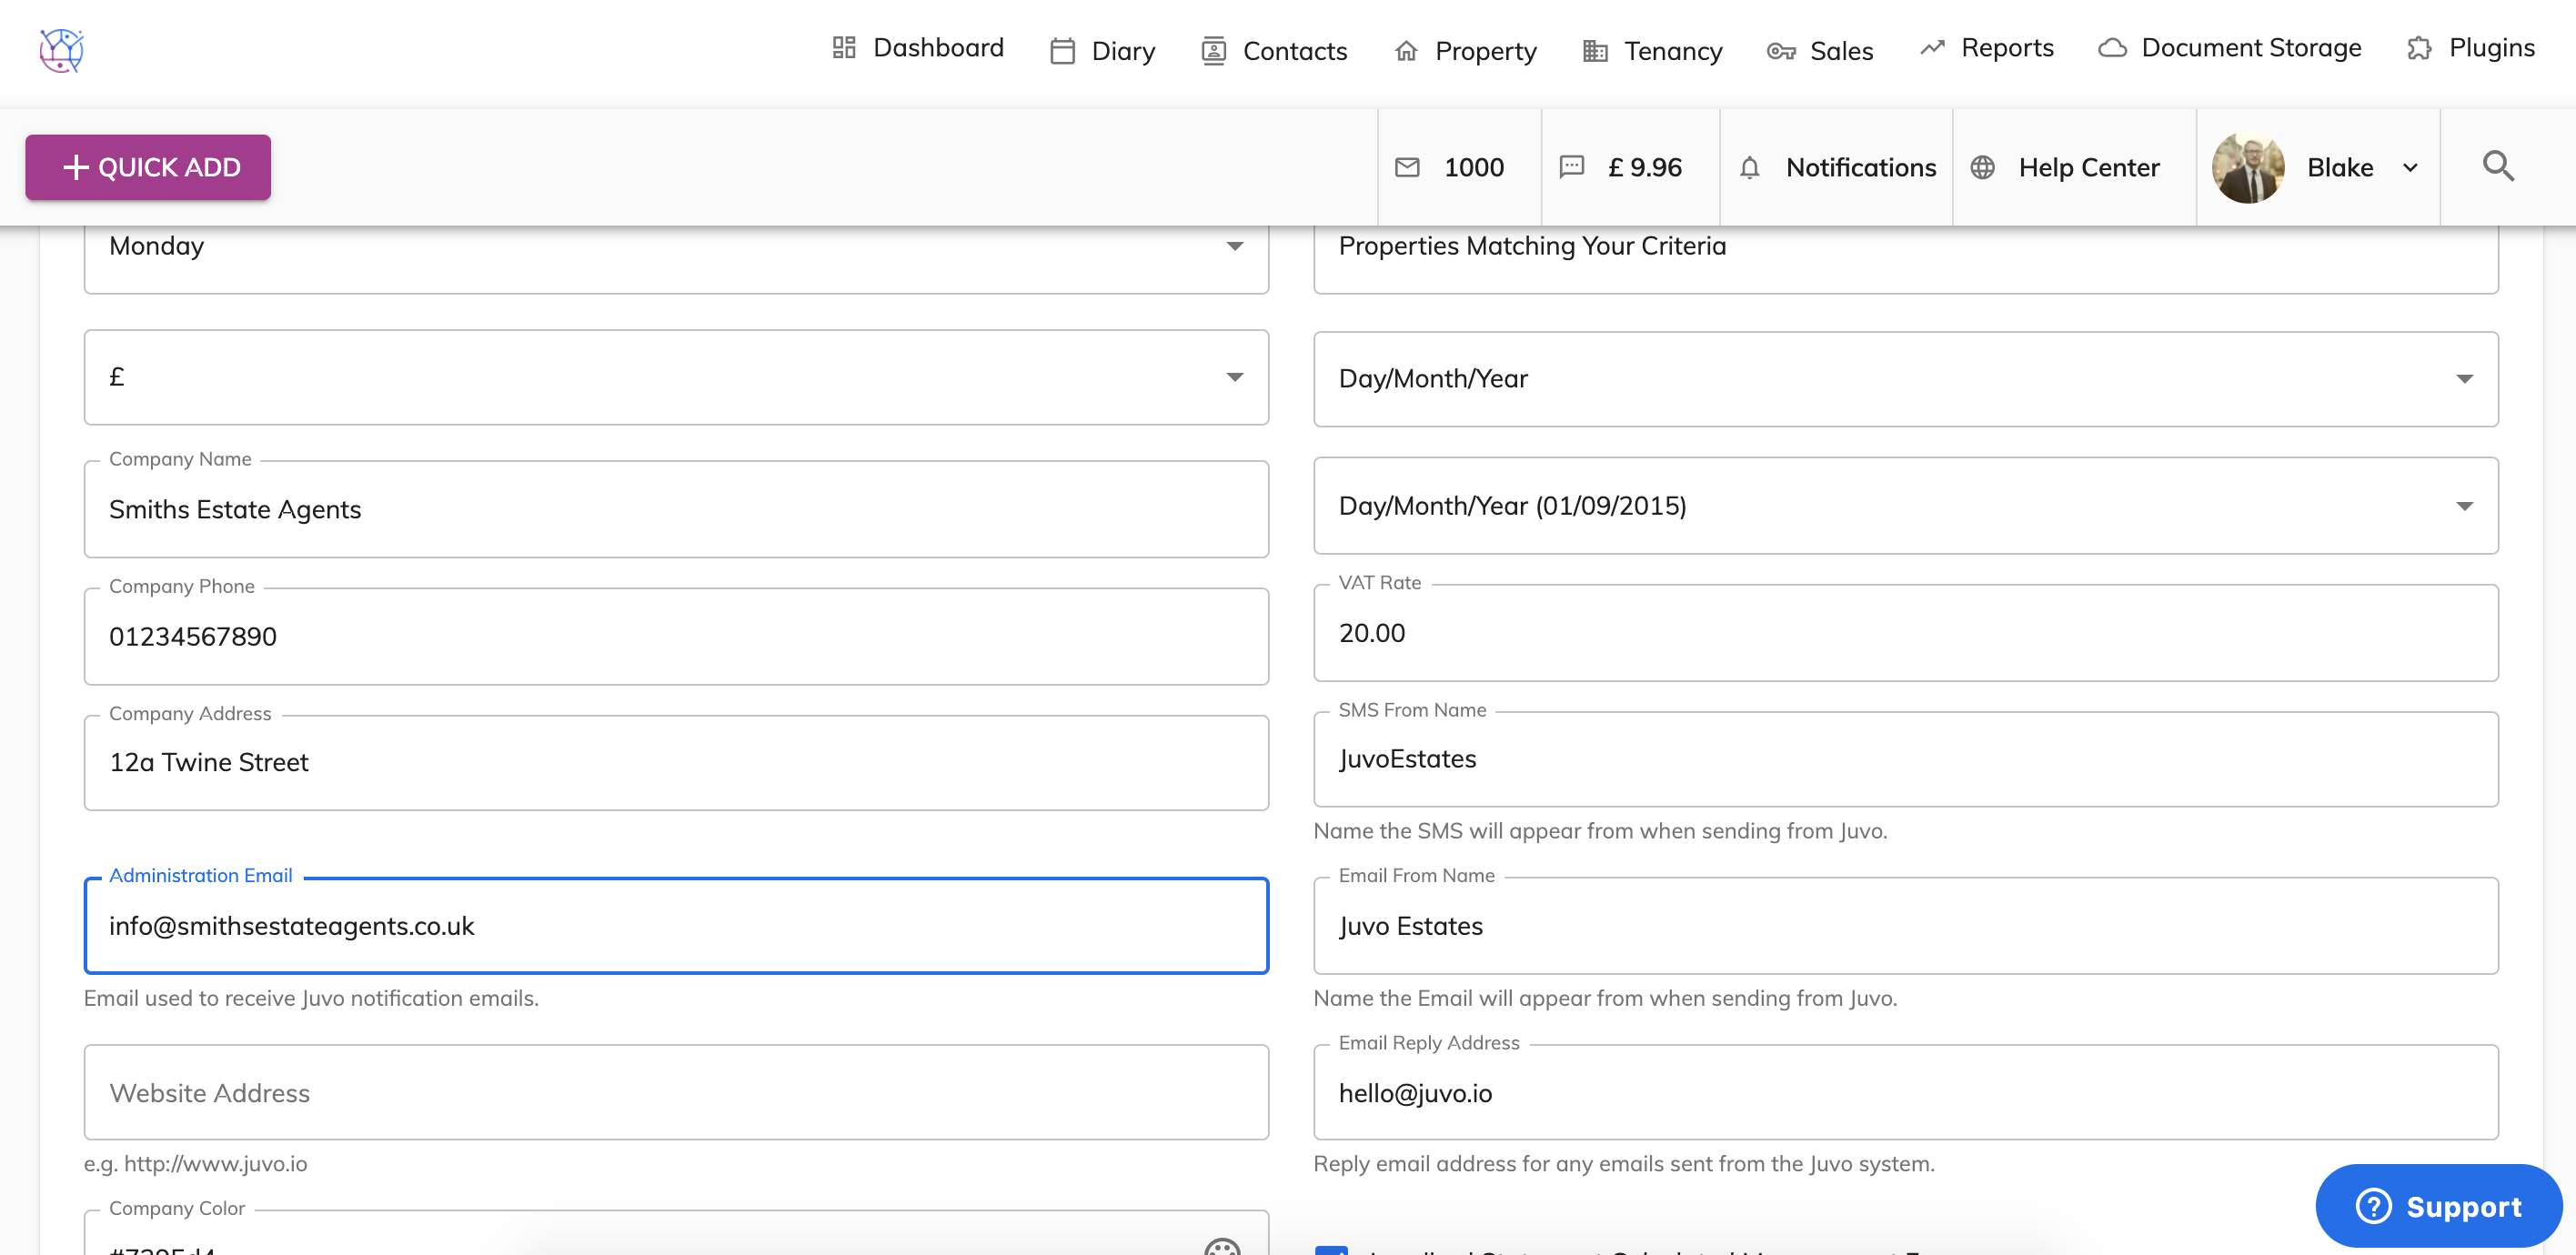
9) Enter the administration email you would like to use for your Juvo account. This email is used for account reminders/notifications.
10) Enter the website address you would like to advertise to your clients. This website will appear on templates created within Juvo.
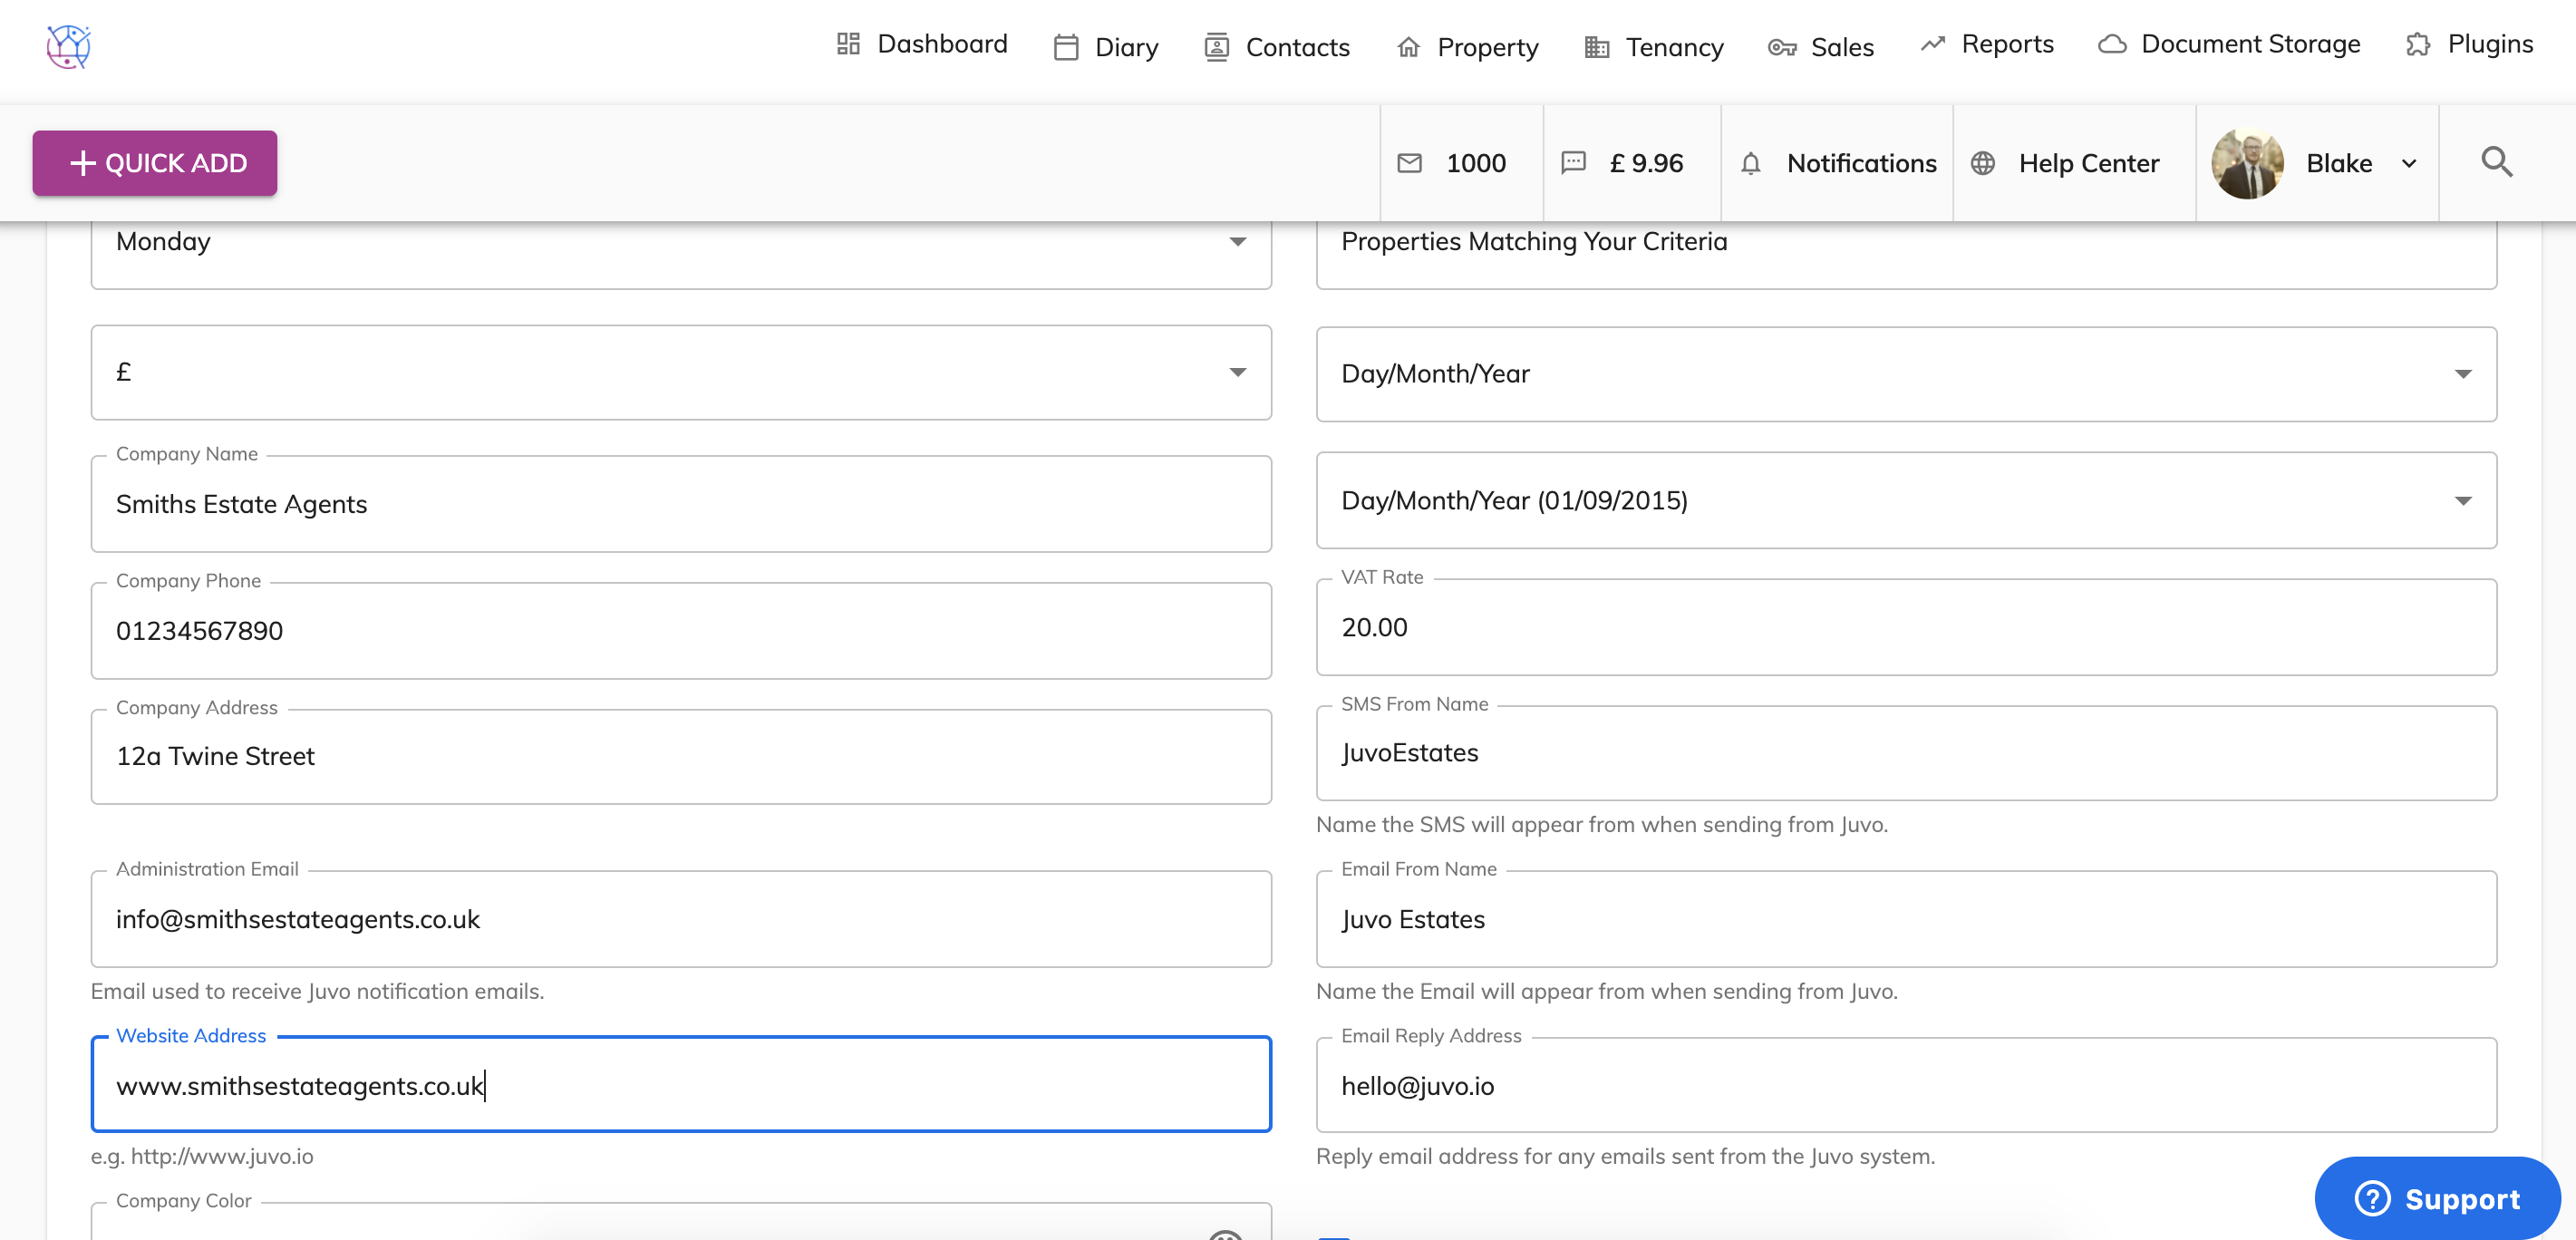
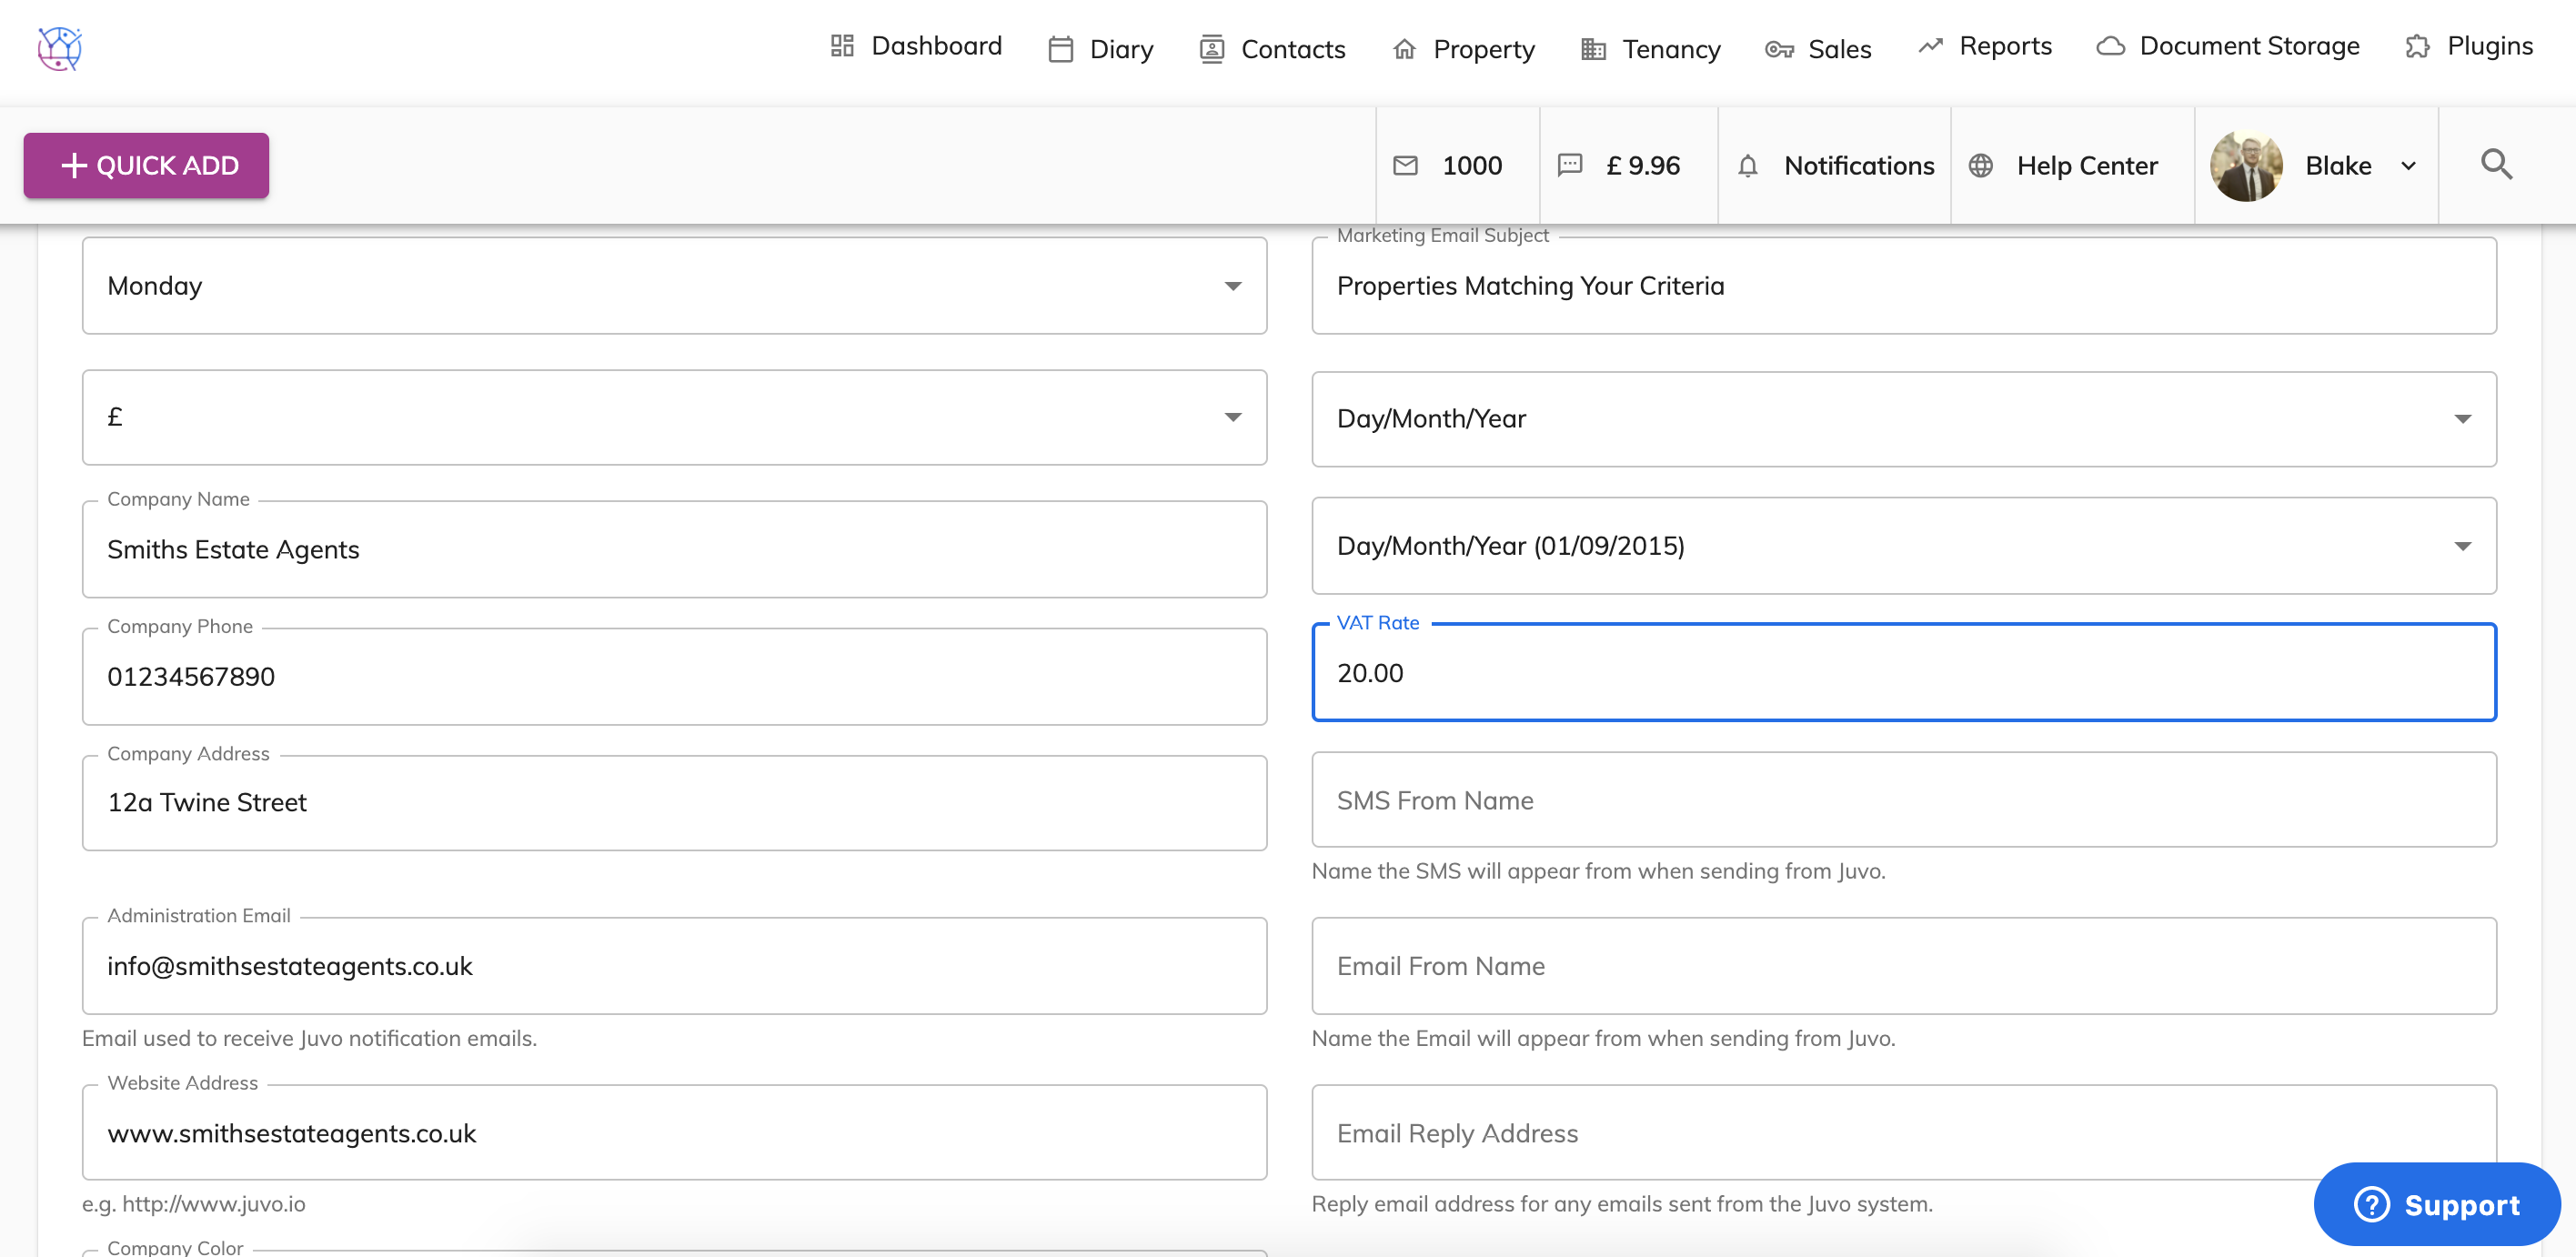
11) Any Marketing emails sent through Juvo can have a customised subject set by you. Enter the phrase you would like to use when sending out marketing emails to clients.
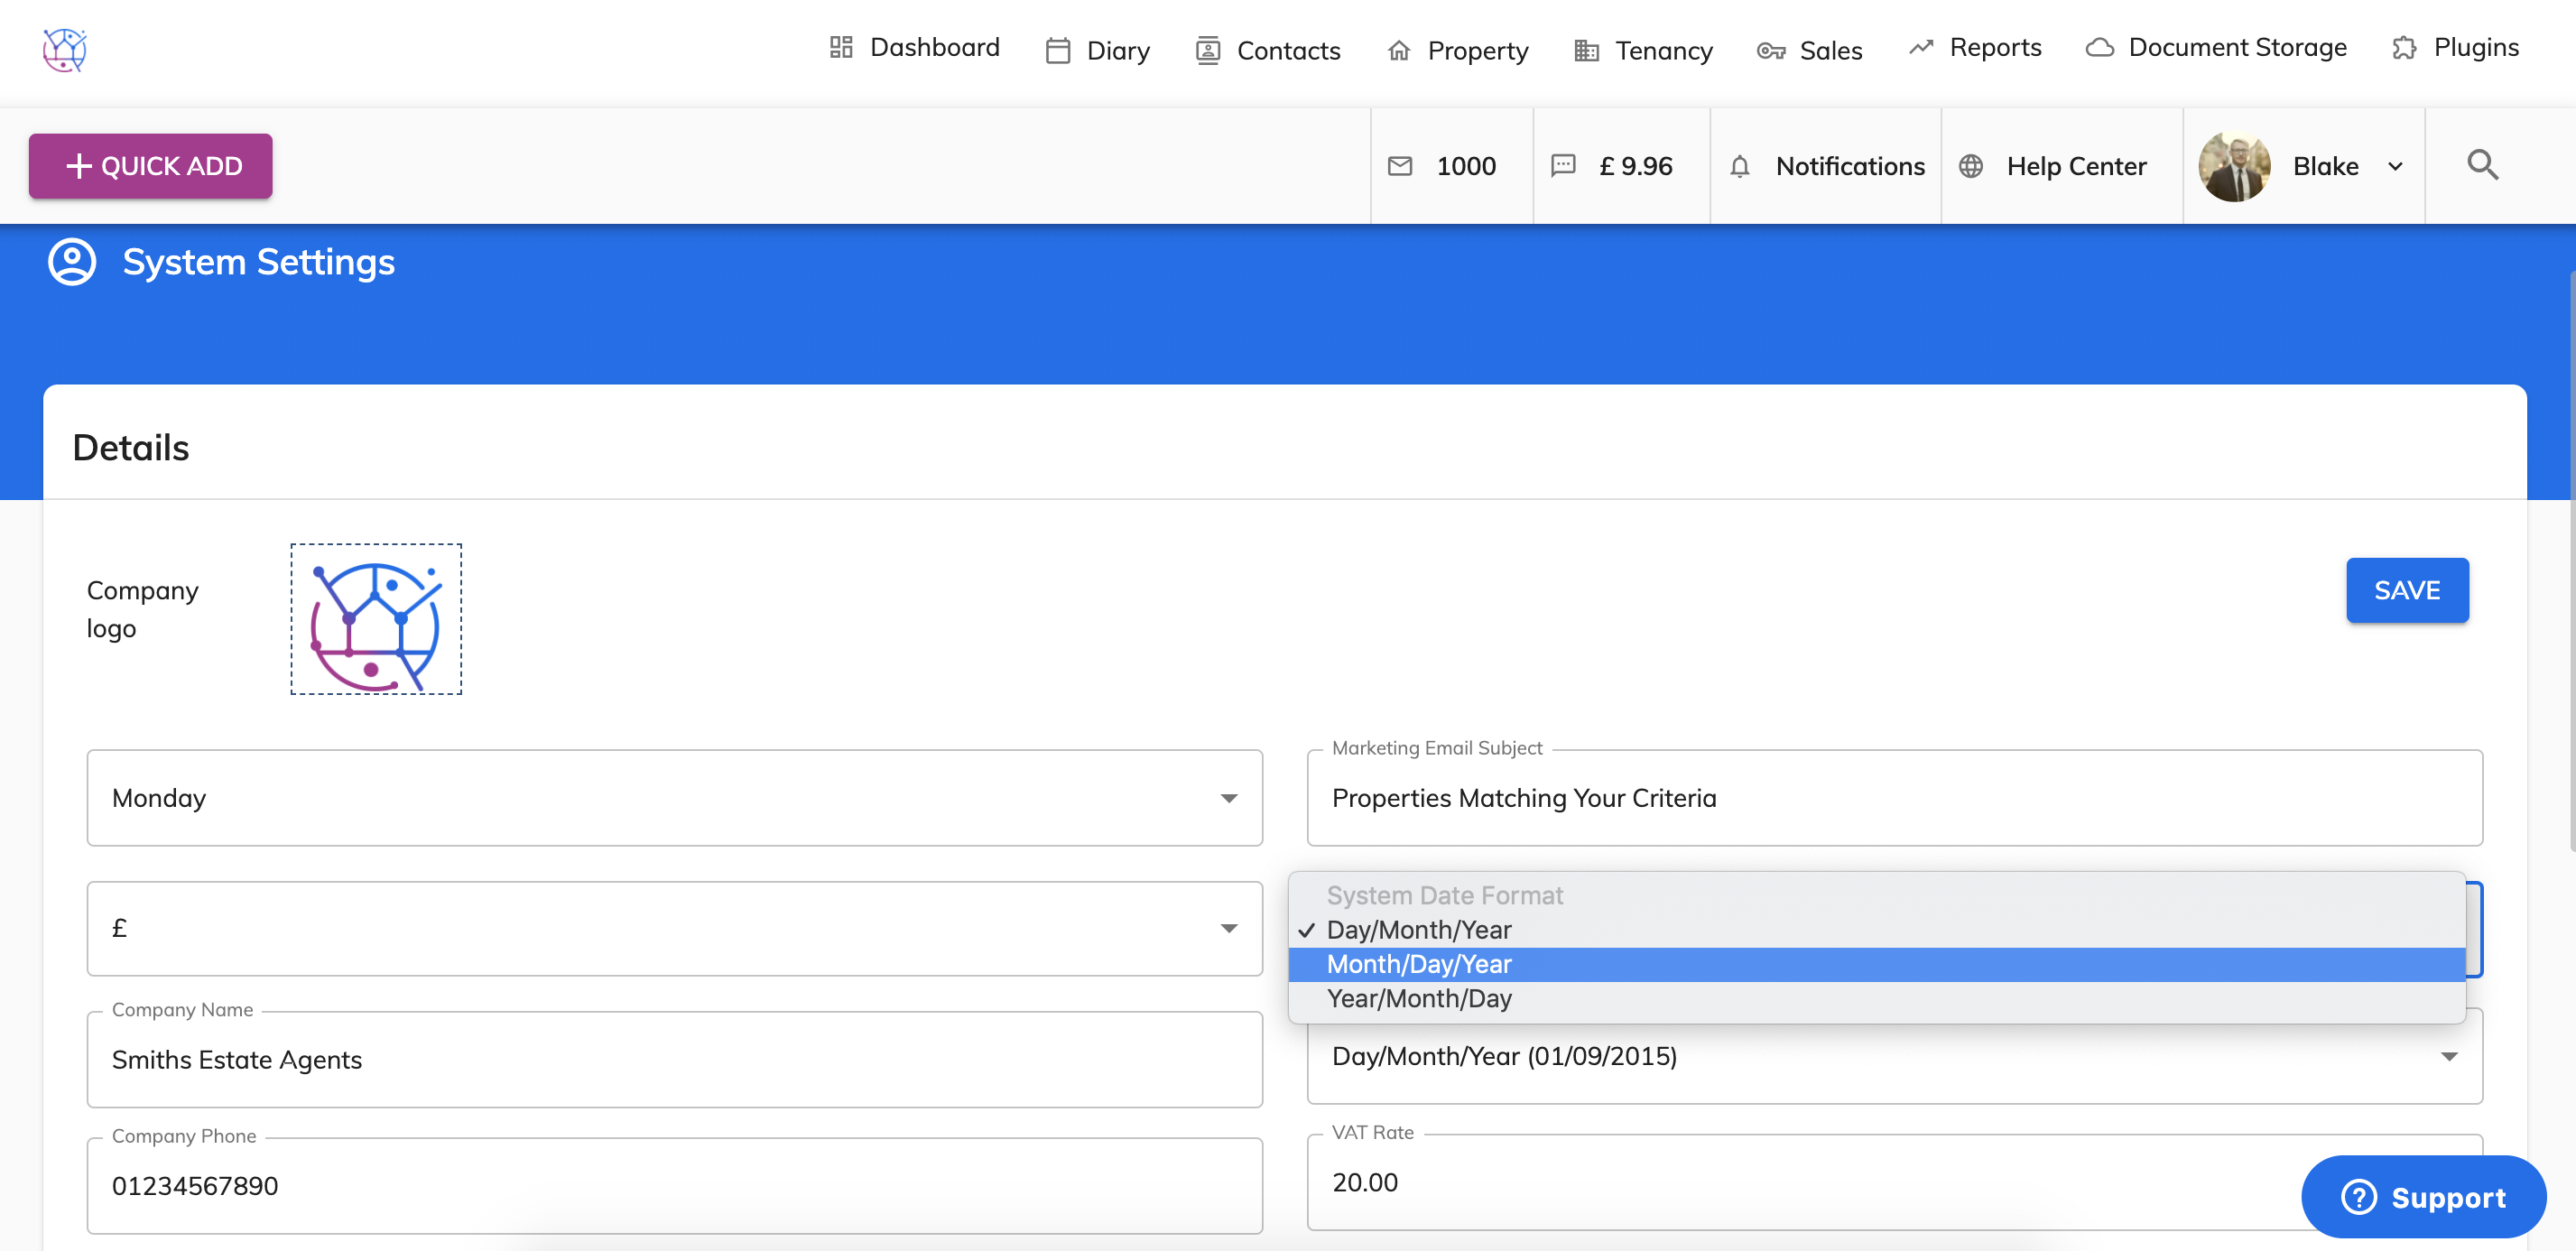
12) Select the date format
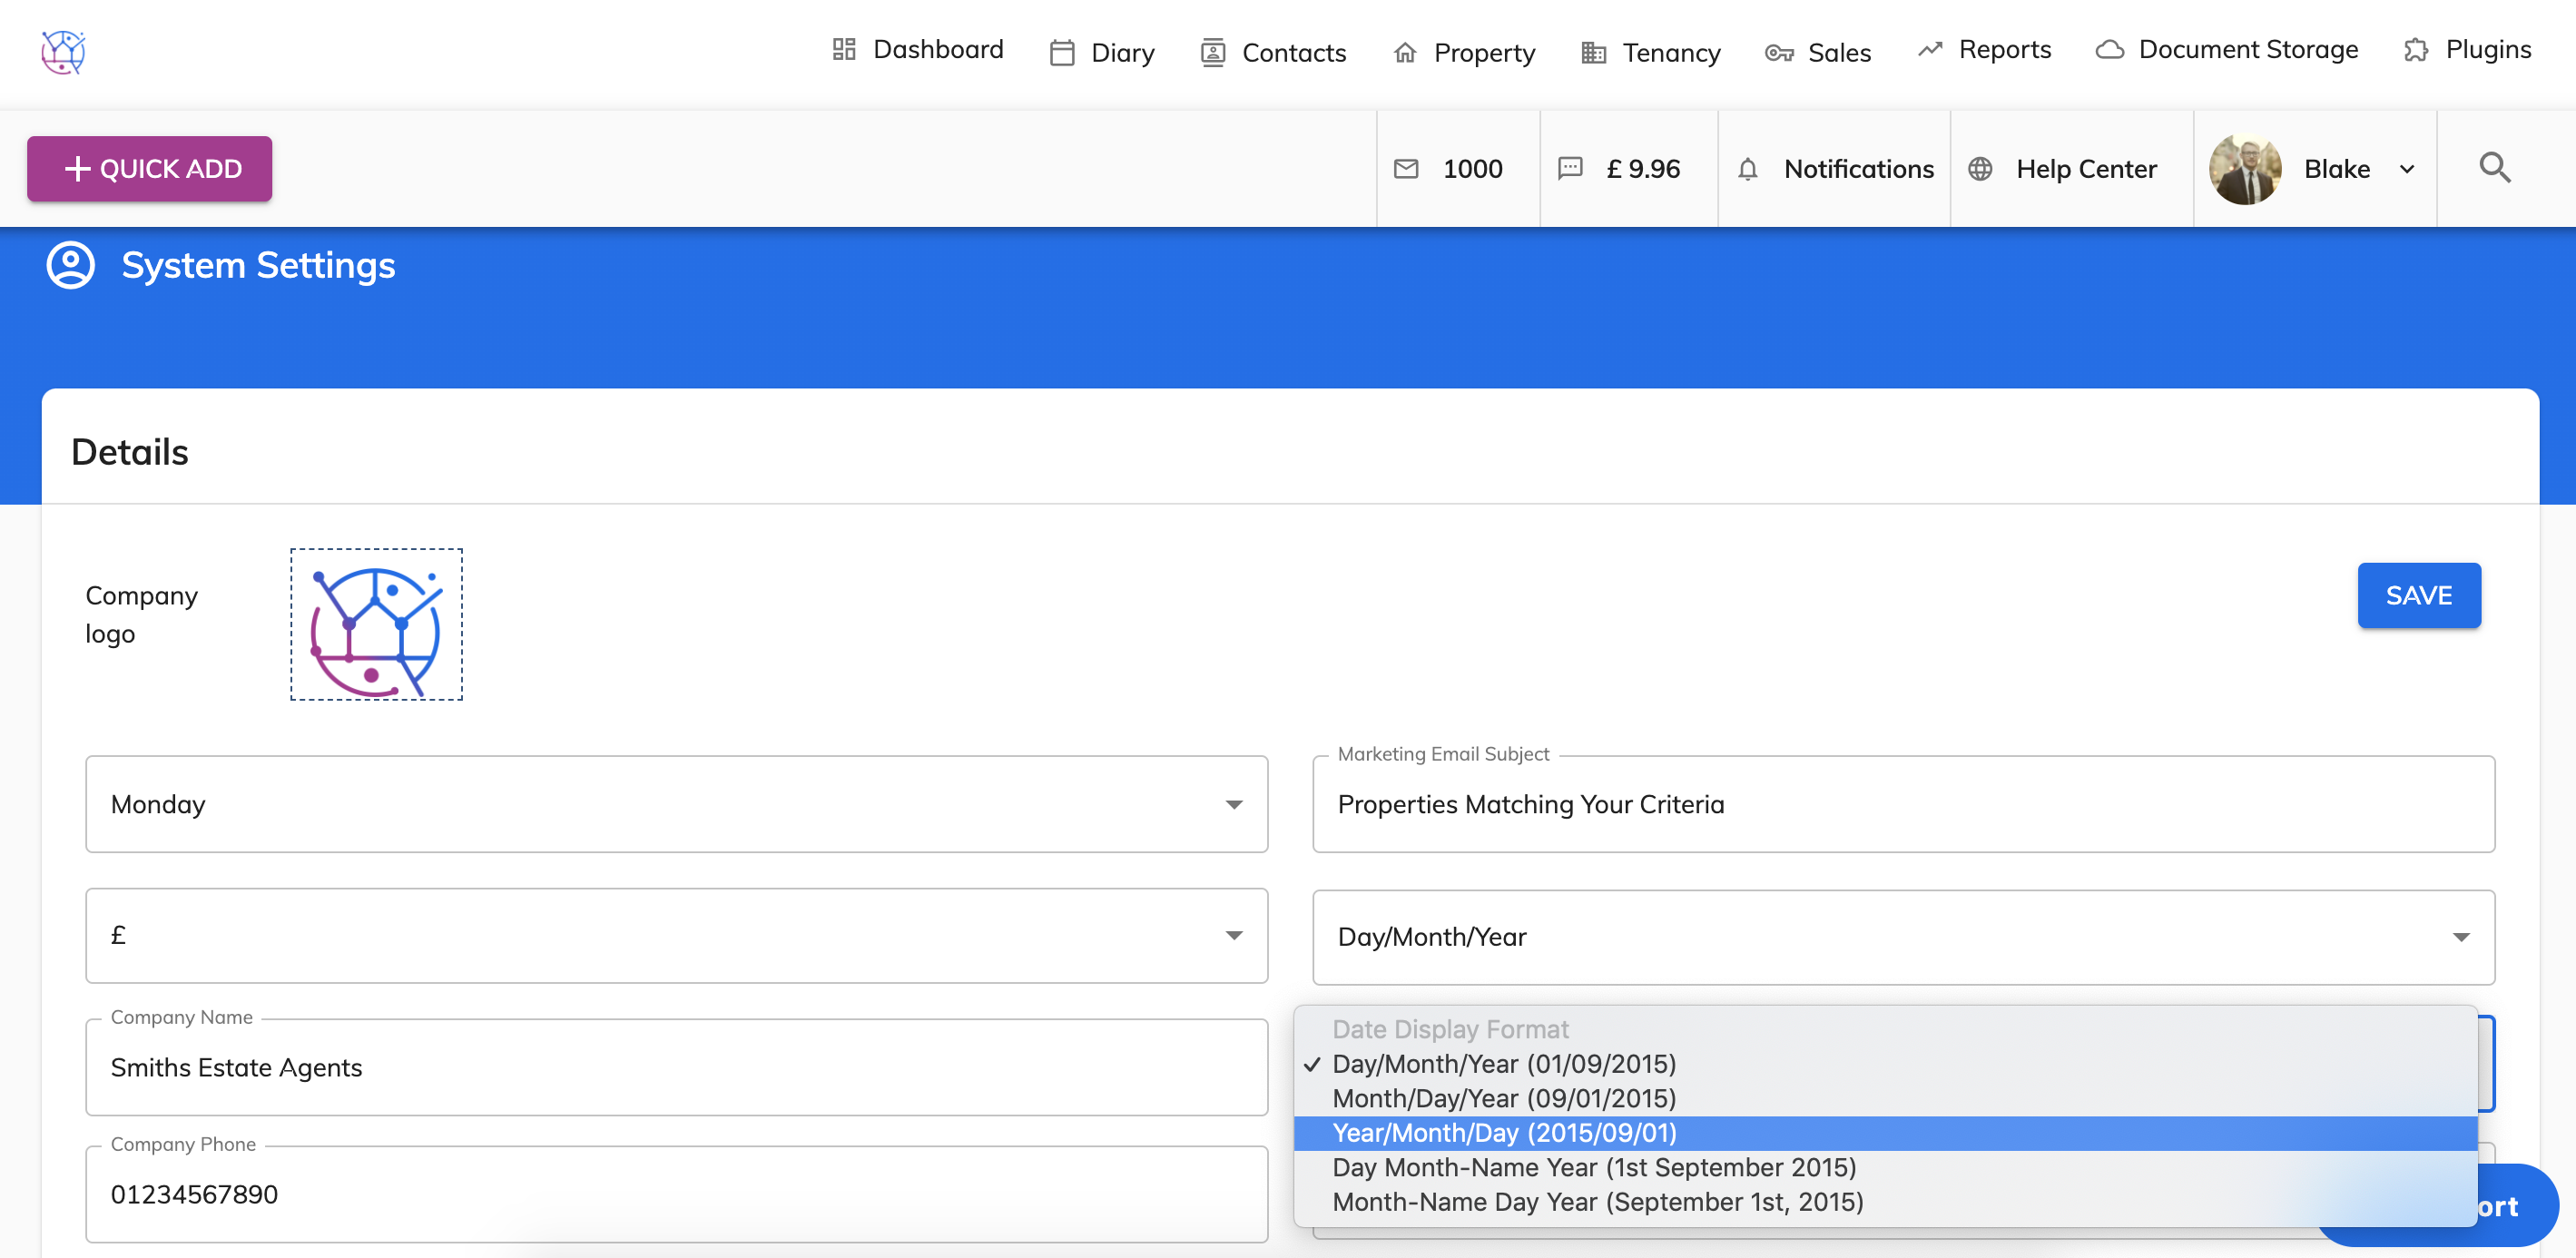
13) Select Date display format.
14) Add in the vat amount relevant to your country. If you are not VAT registered enter 0.
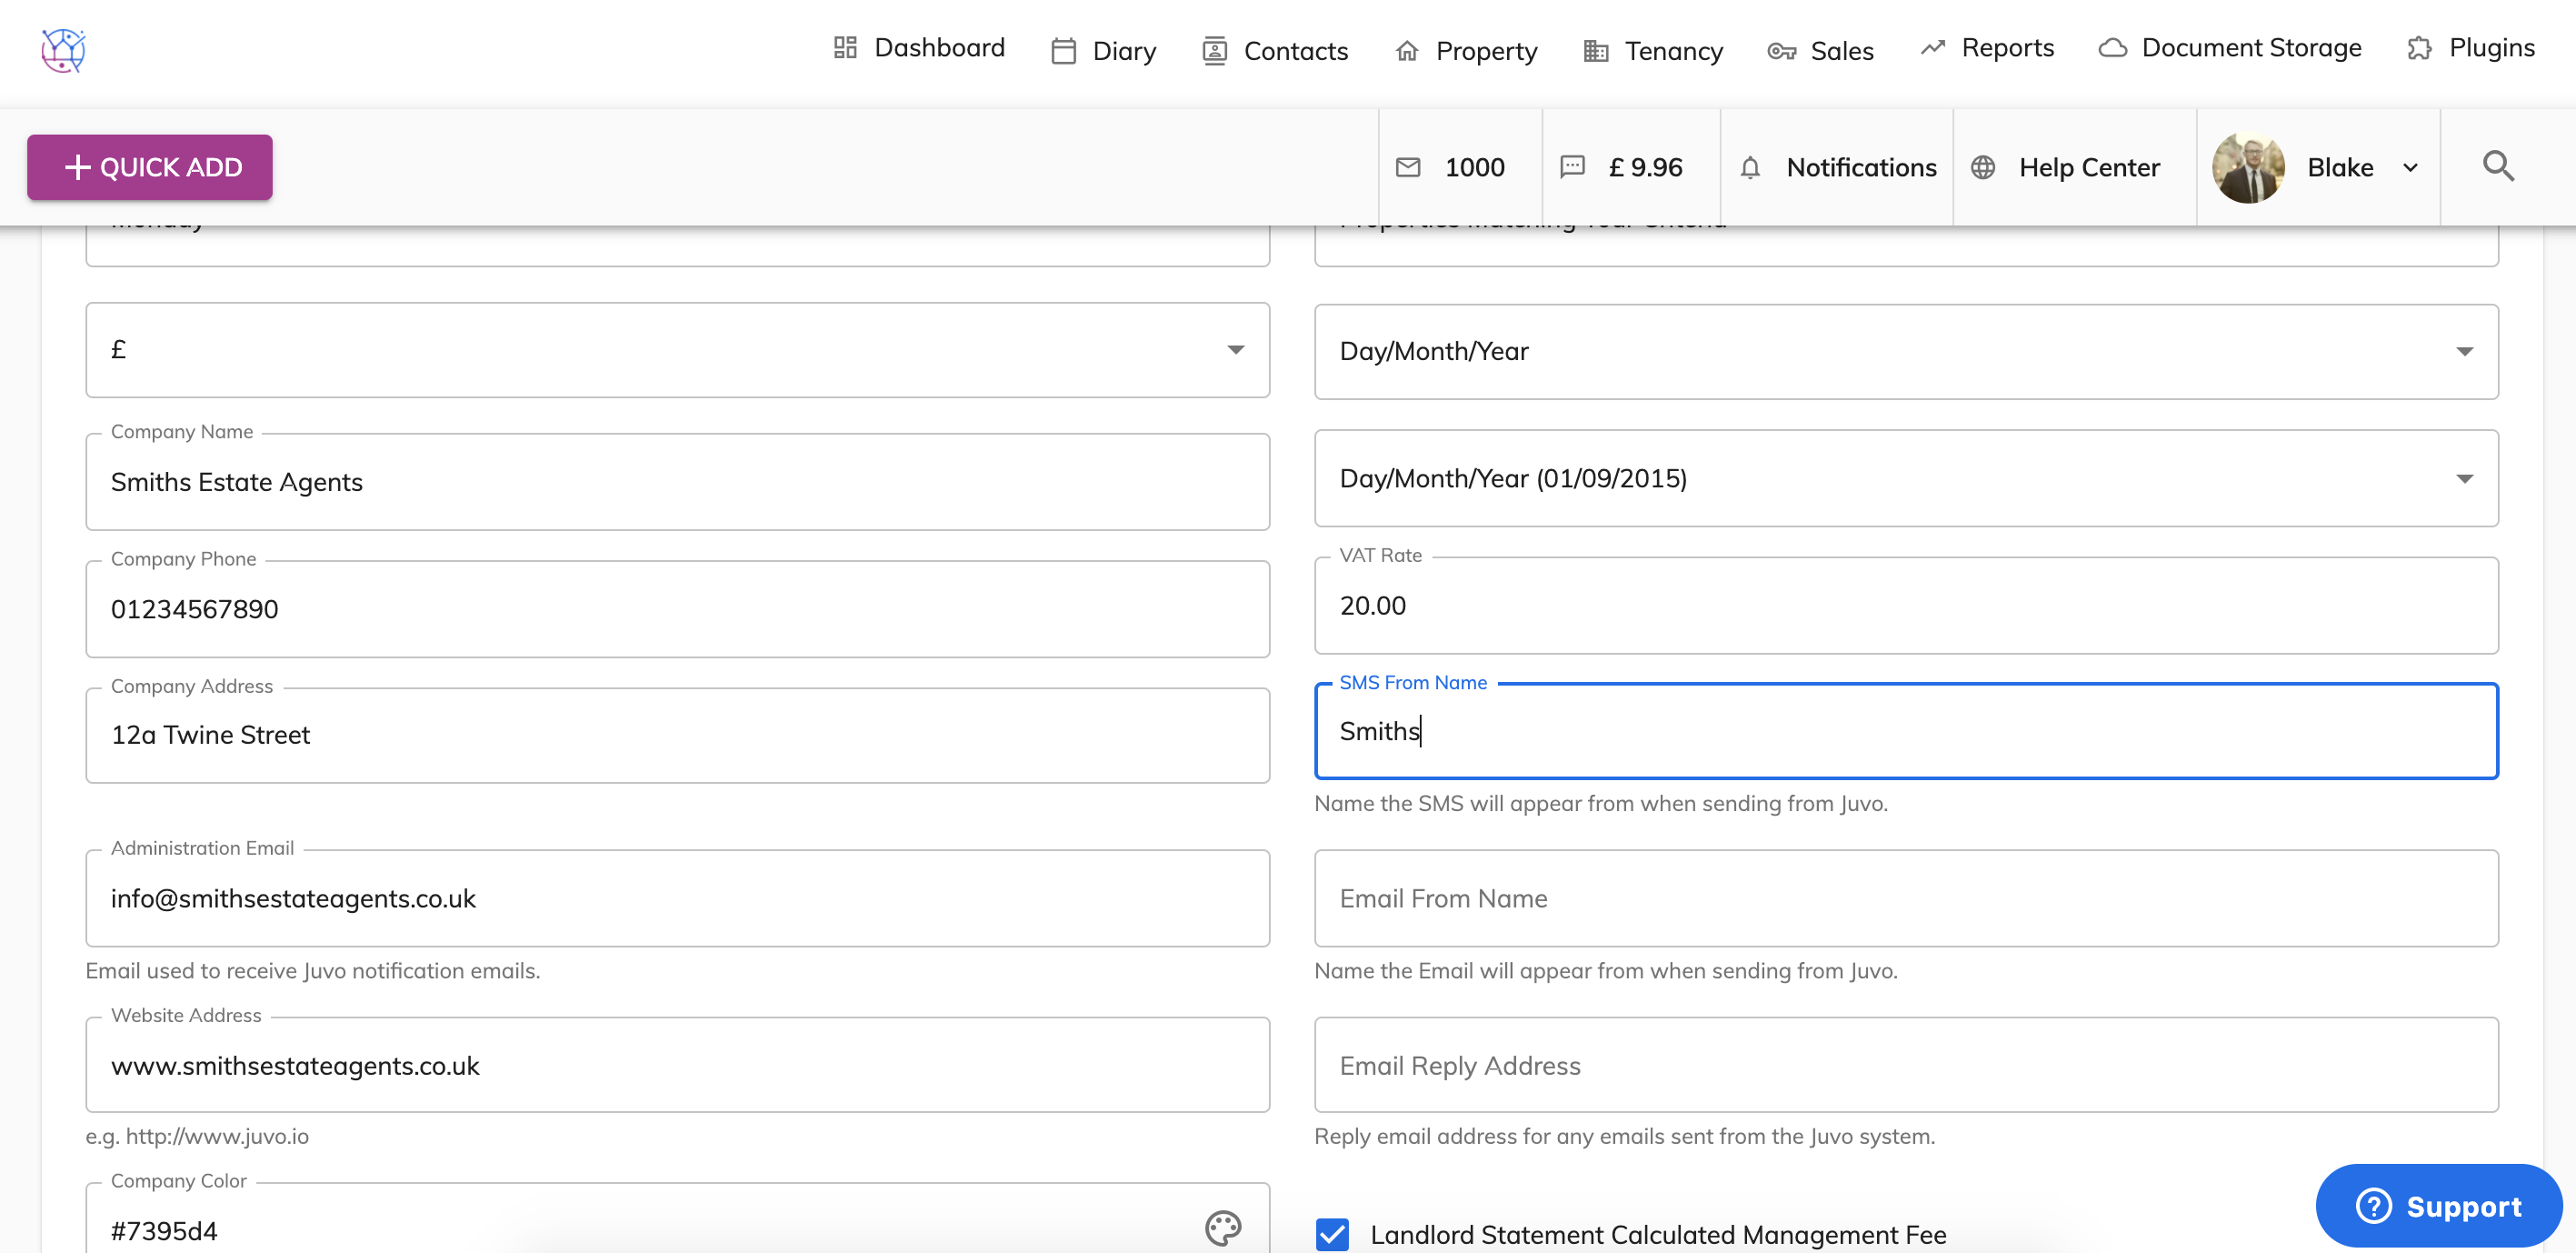
15) Enter the name that you would like any SMS messages sent from Juvo to your clients to appear in their inbox. Normally this would be the estate agency name.
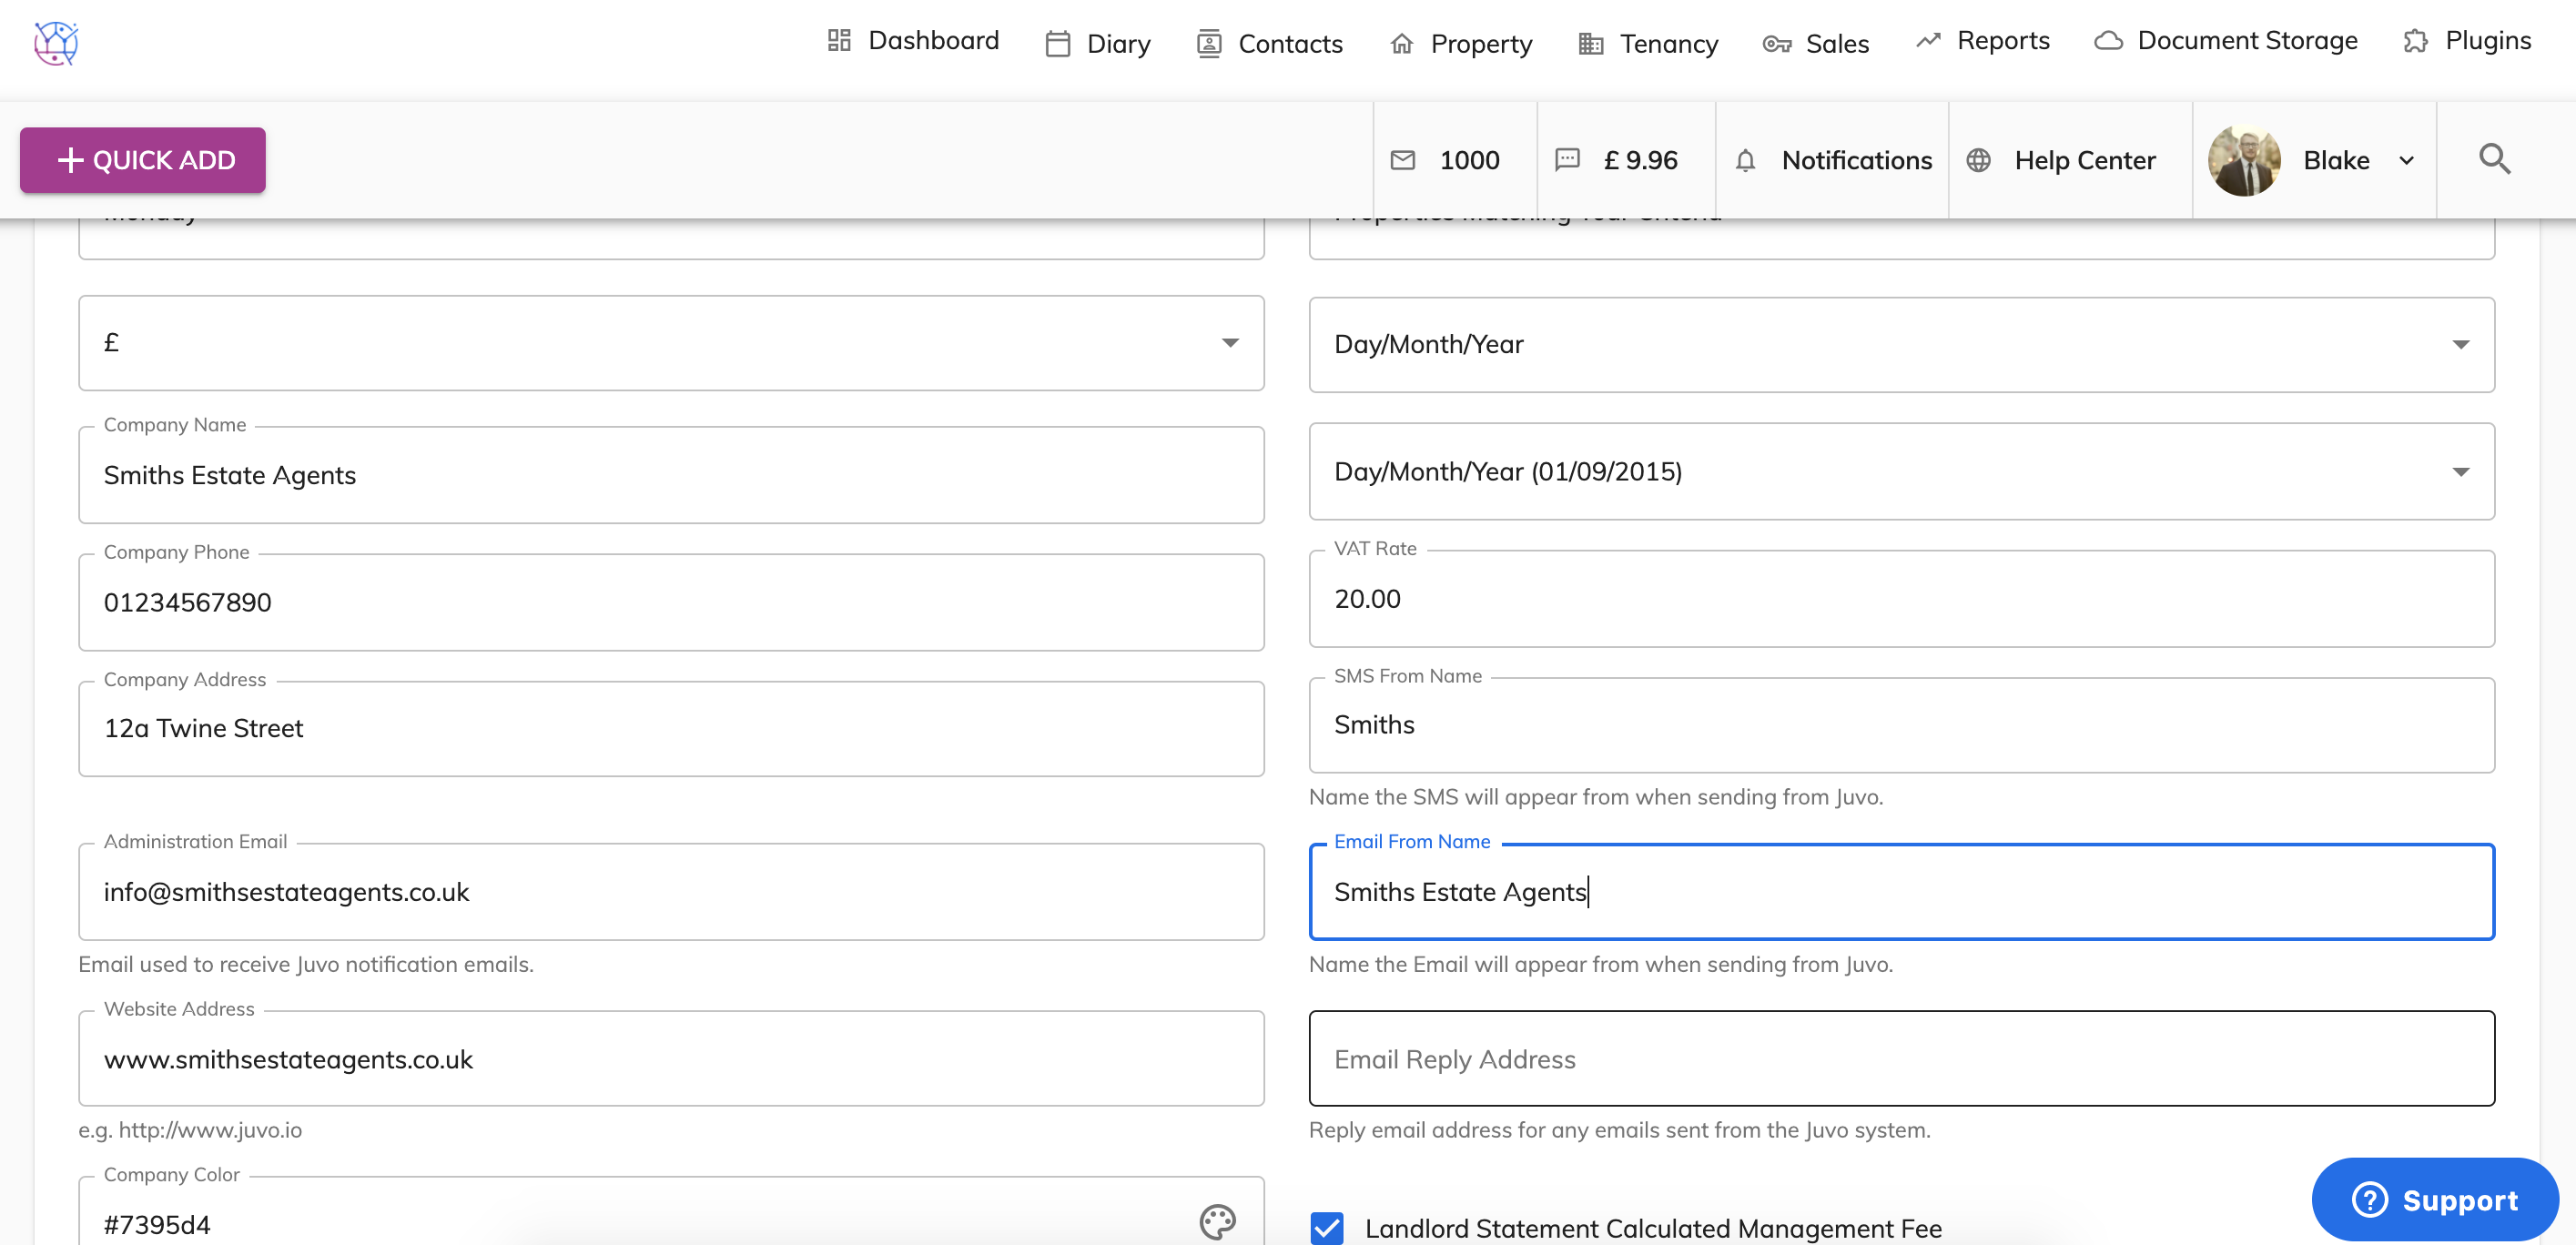
 16) Enter the name that you would like any Emails sent from Juvo to your clients to appear in their inbox. Normally this would be the estate agency name.
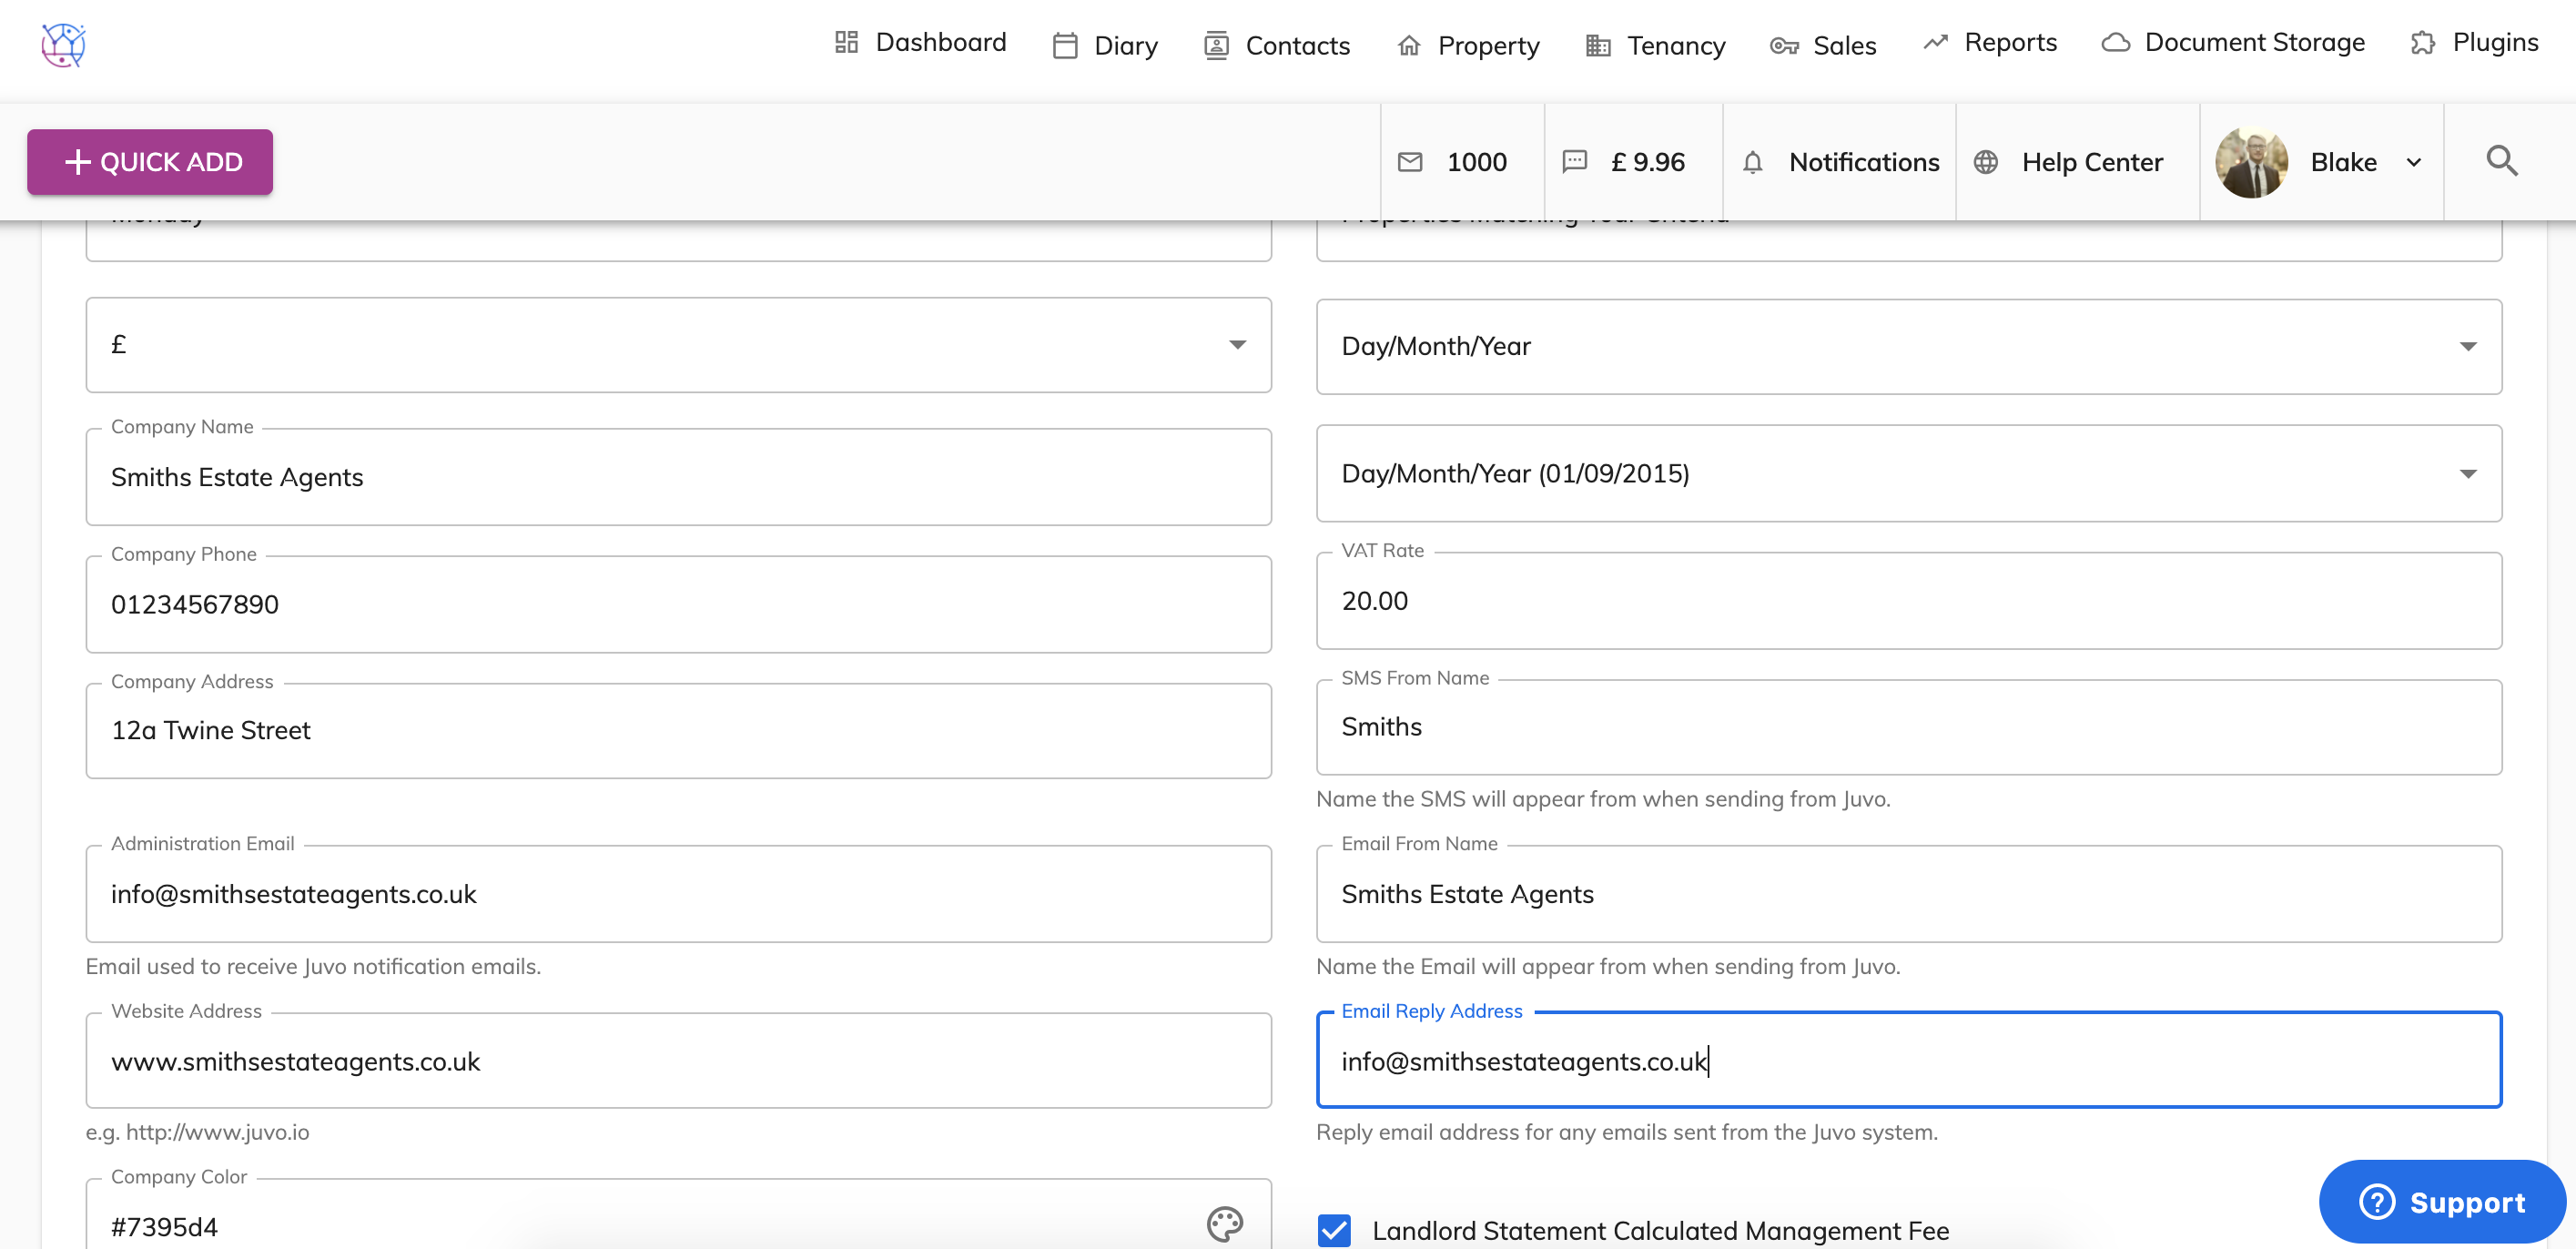
17) Enter the Email Reply address. This is used when clients reply back to any emails you have sent to them from your Juvo account. This can be any email address used in your office. However we usually recommend a generic email such as info@, hello@.
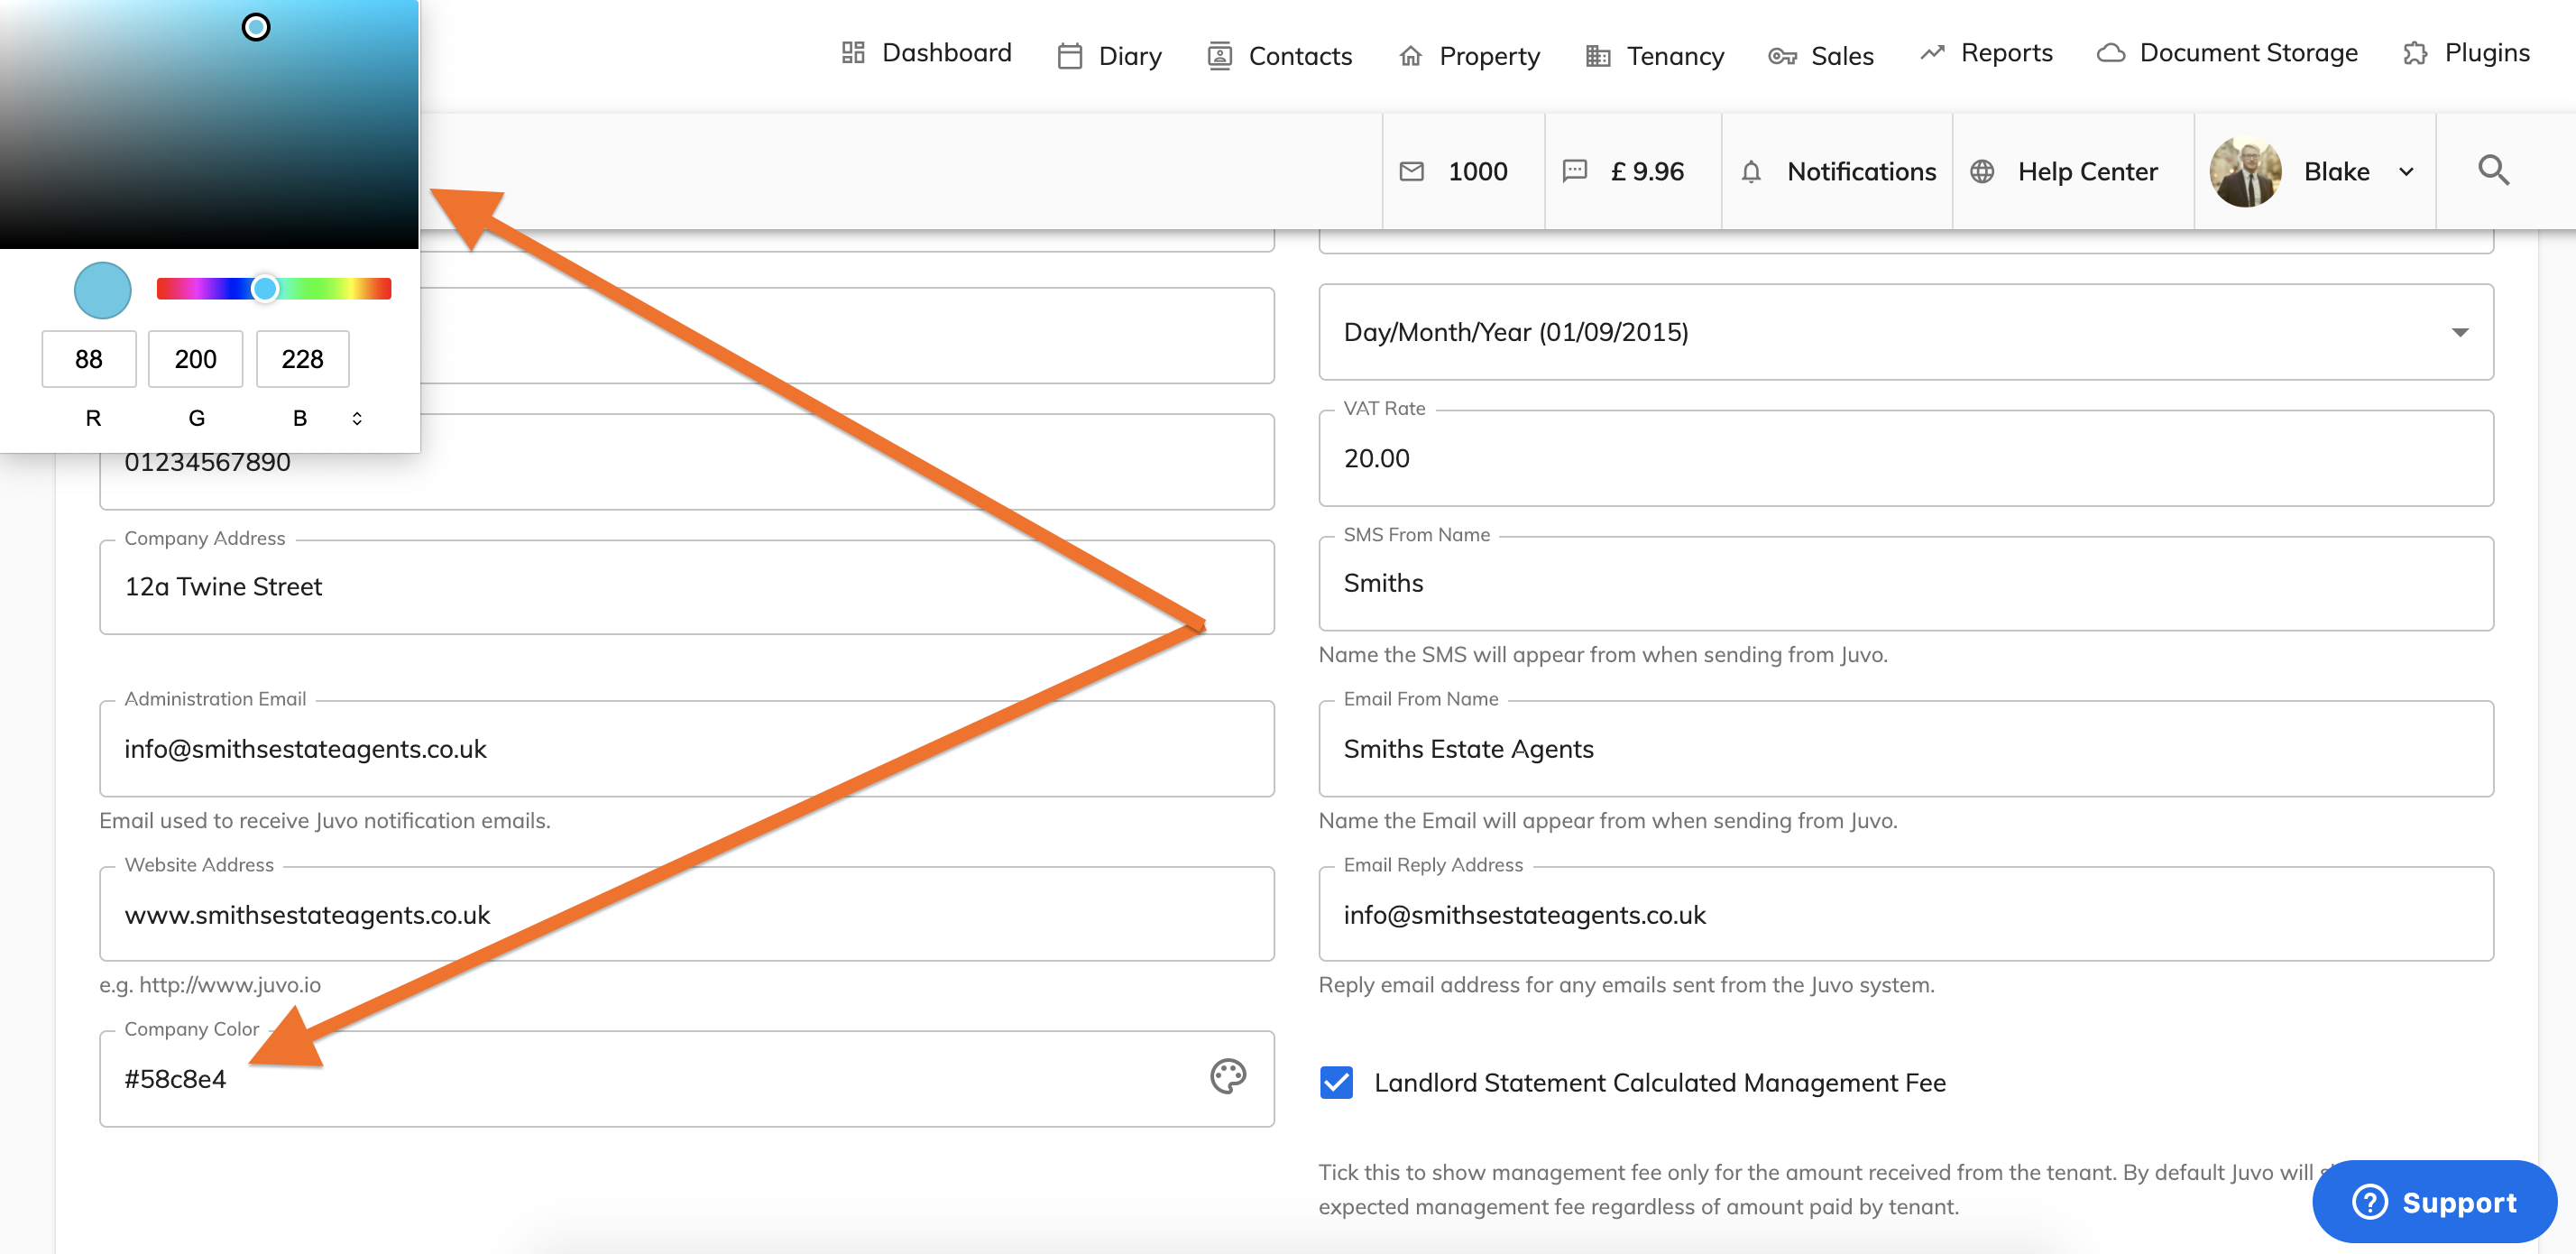
18) Select the company colour. This colour will appear on the client login.
19) Once this form is complete. Press the save button.
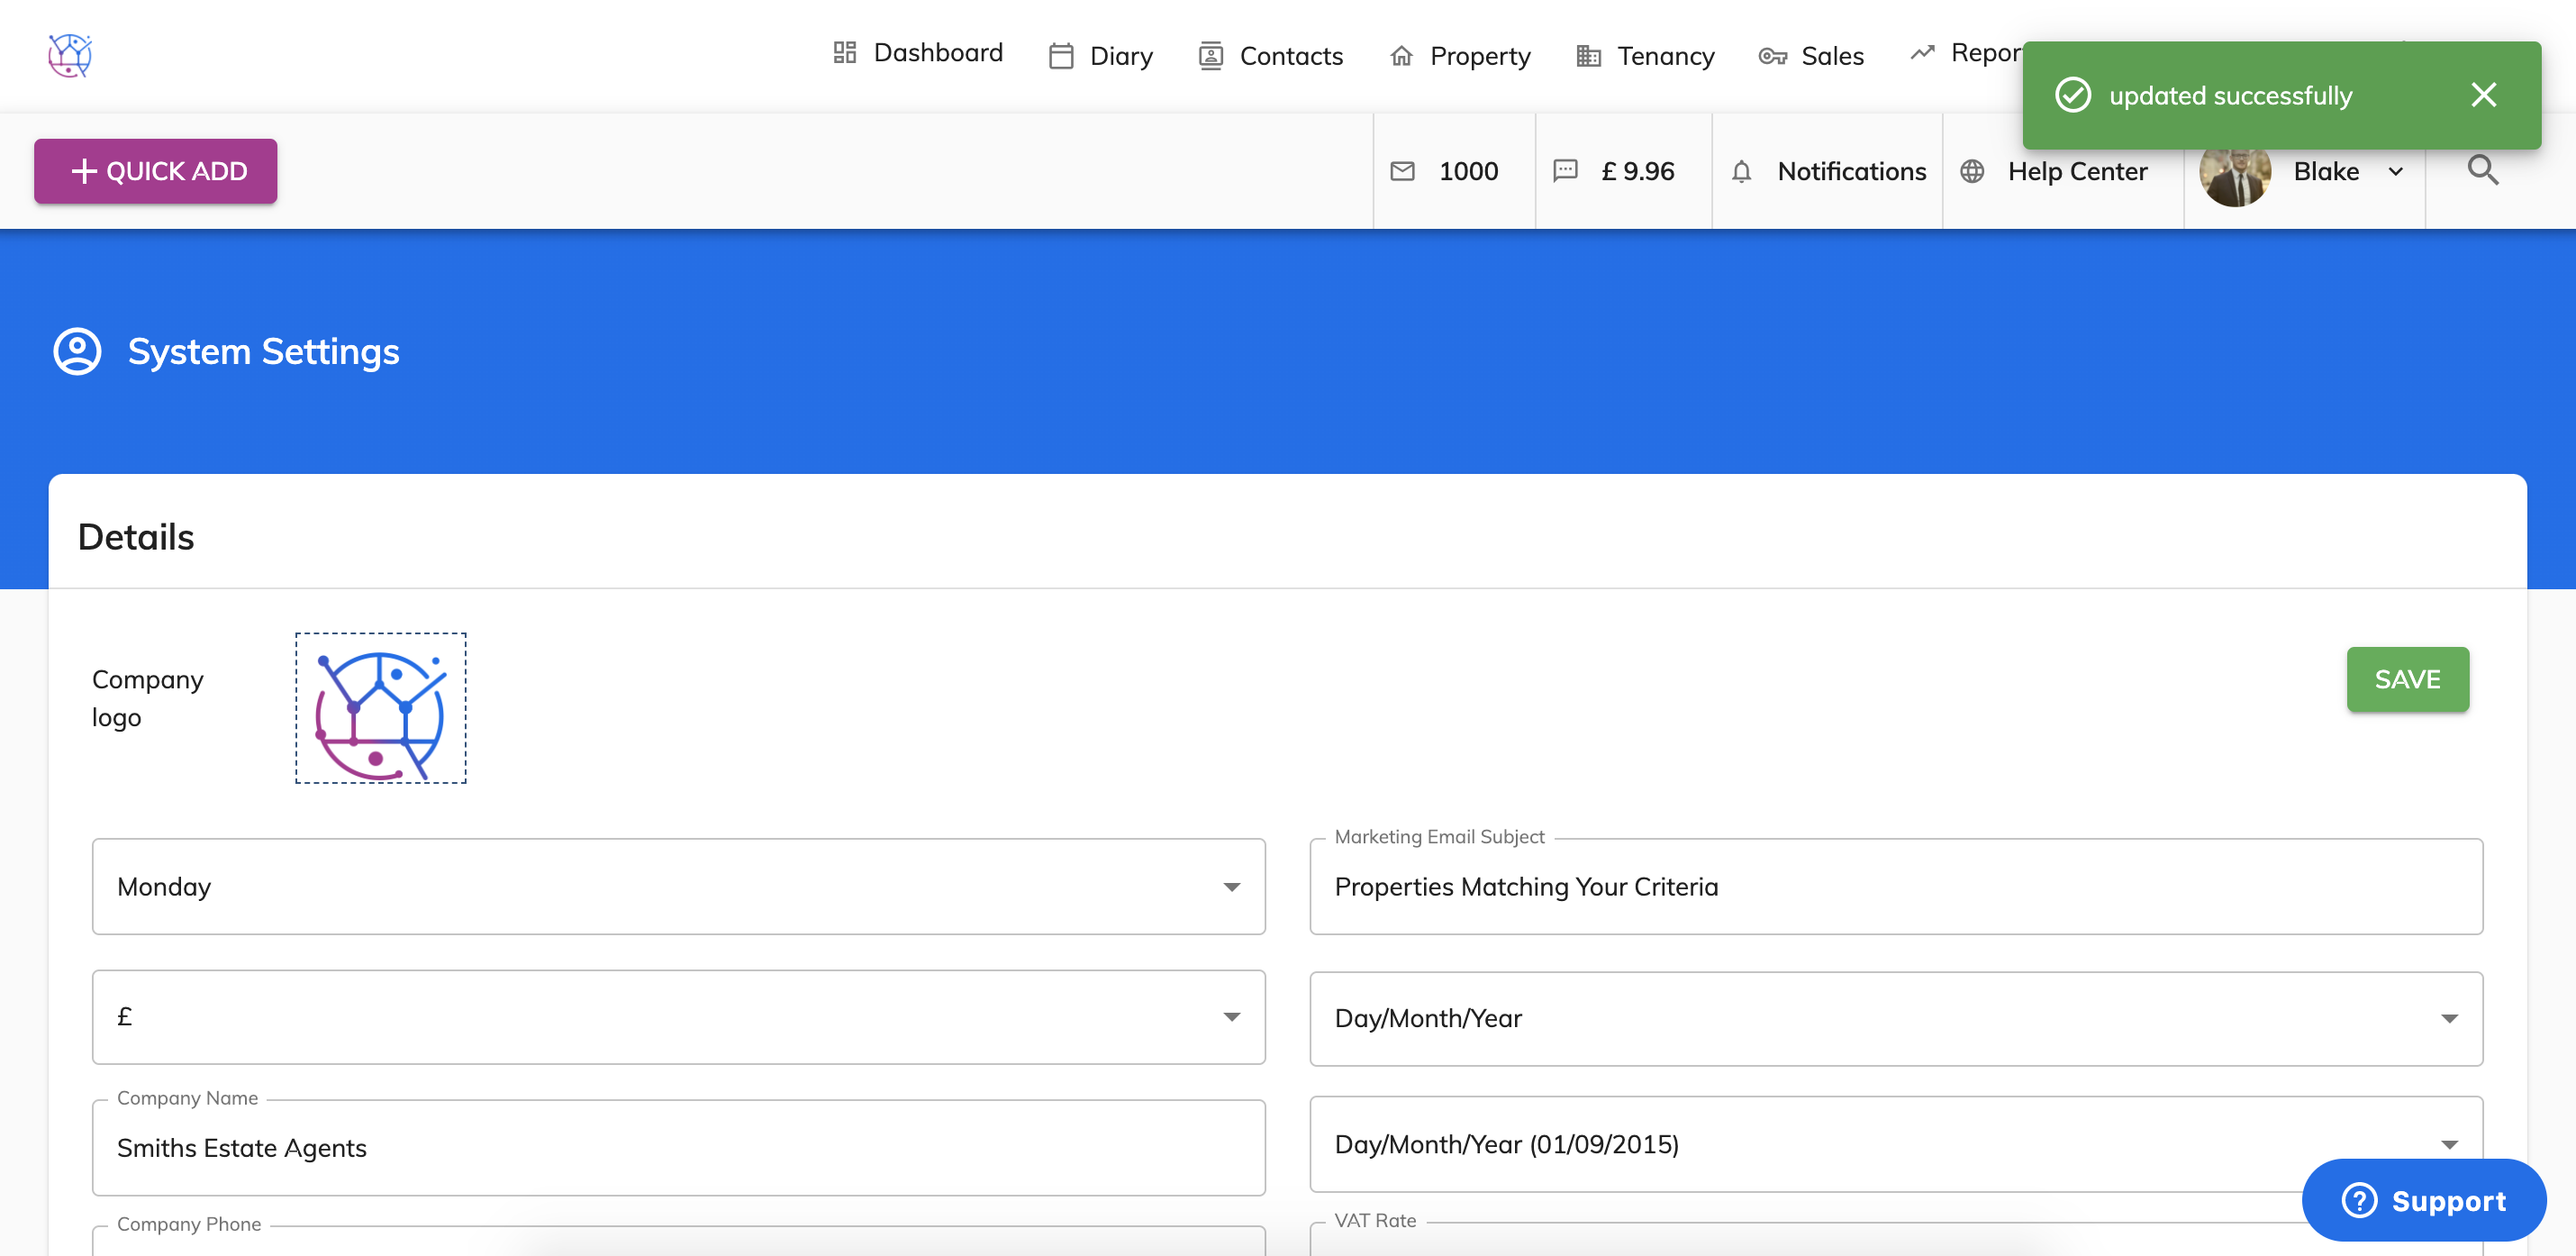
These settings will be pulled through into all sections of your Juvo account.