The logo shown in the client portal is from the logo uploaded within Admin in your Juvo account.
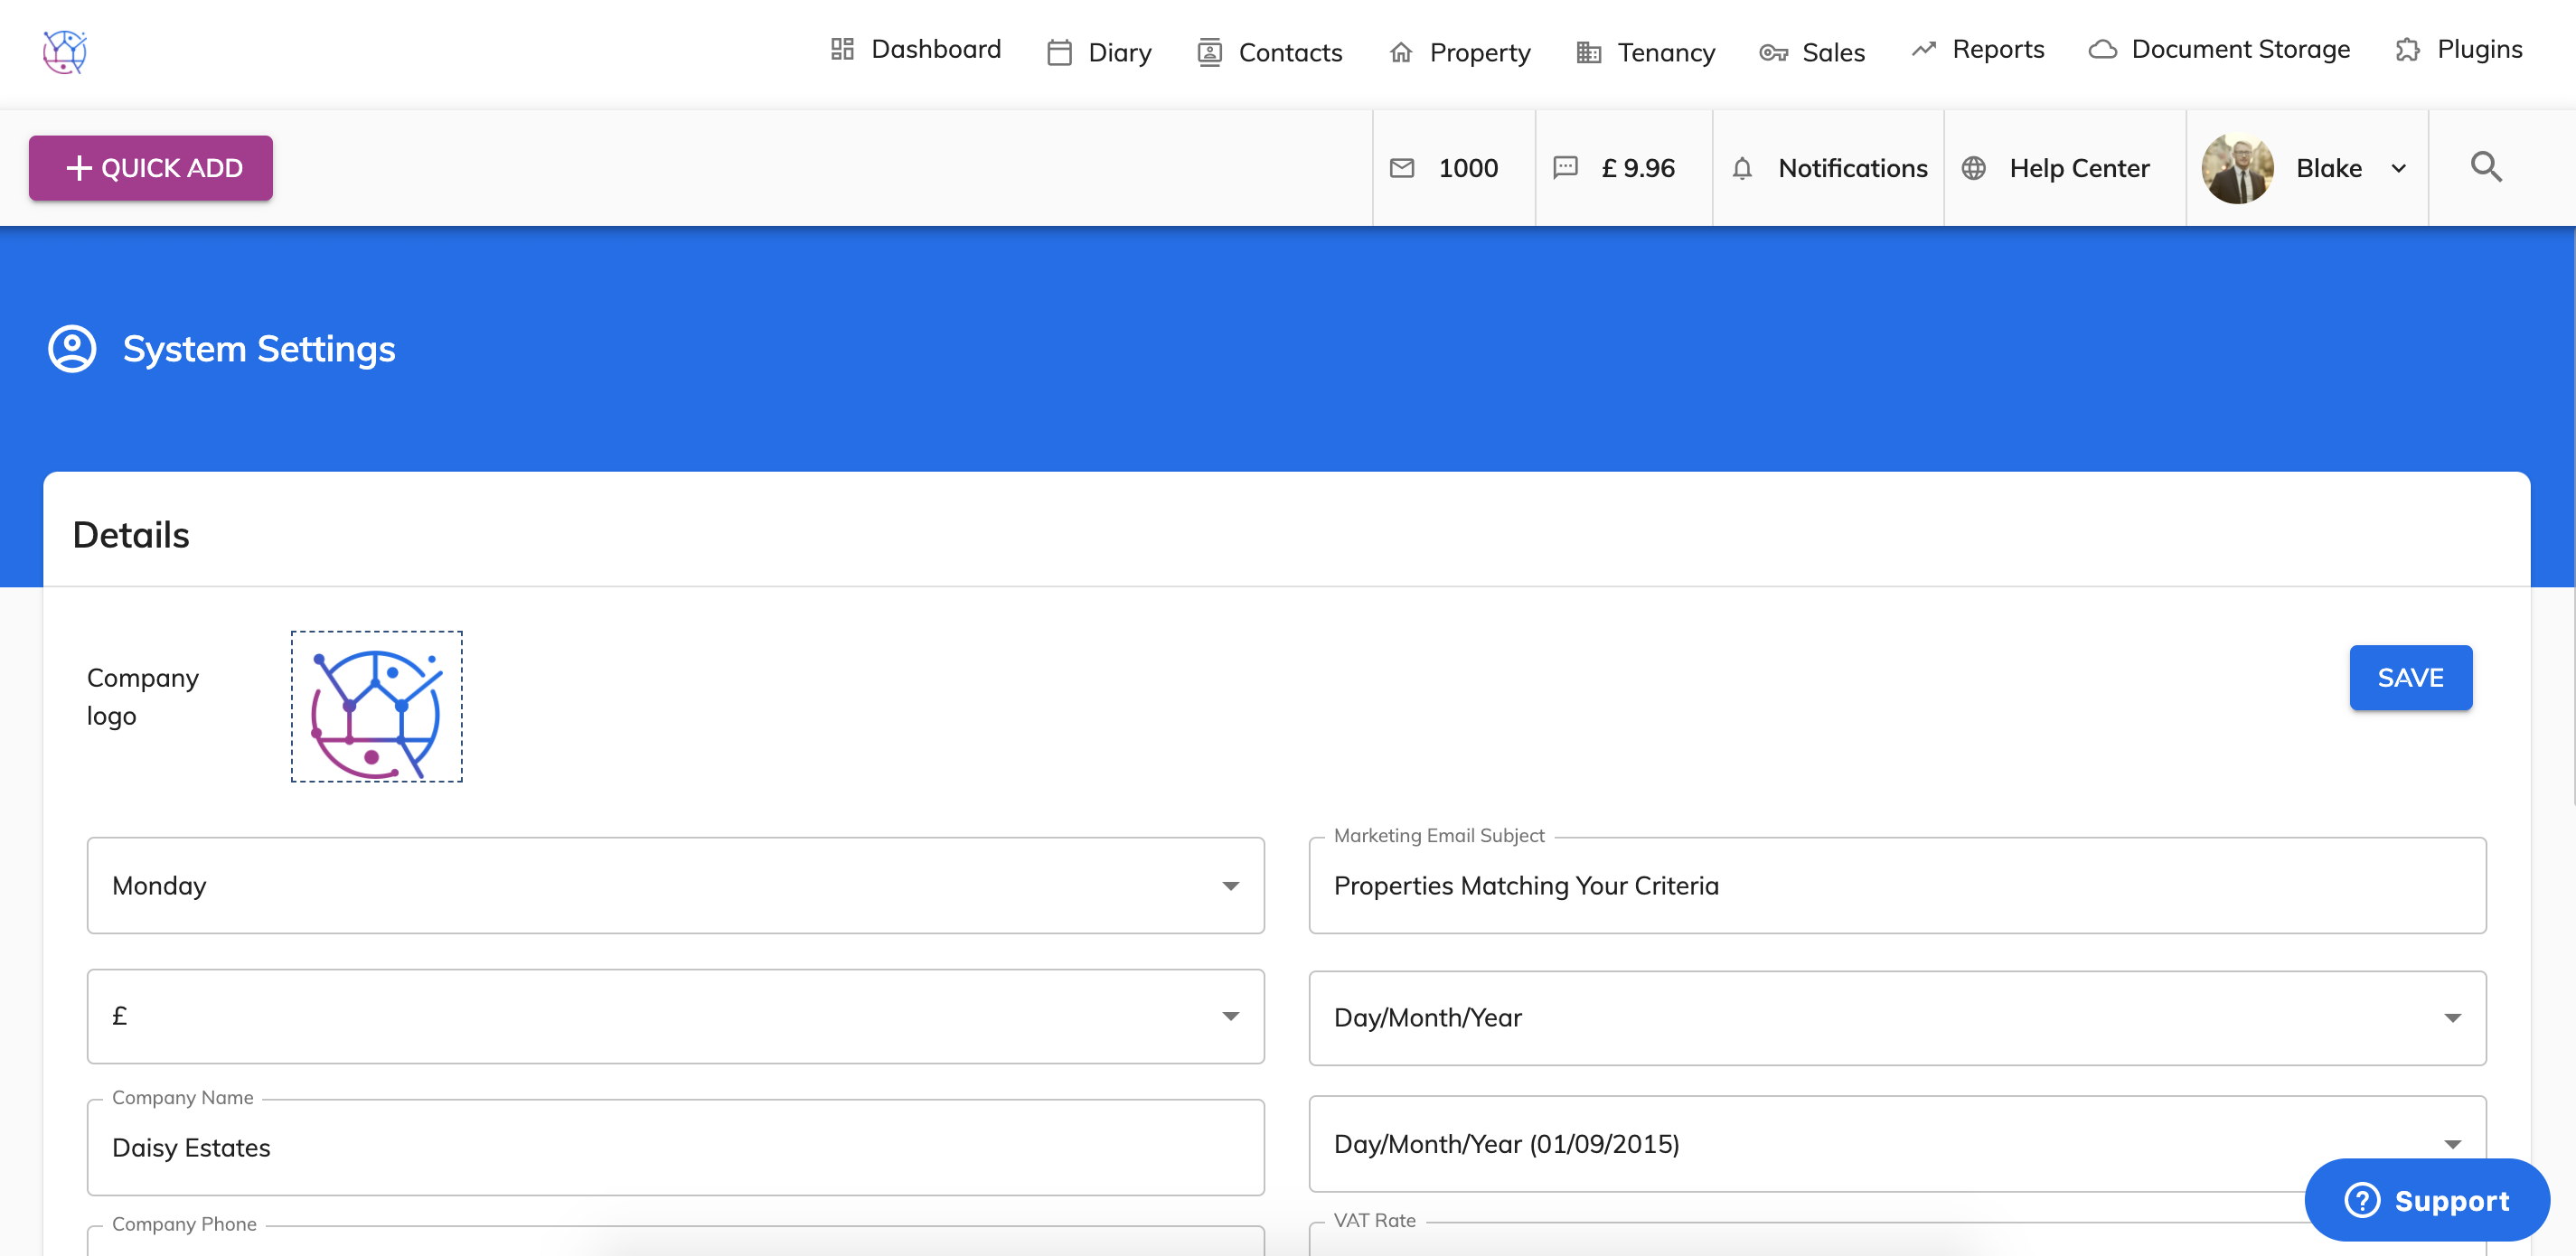
1) Go to Admin by clicking on the User name and Icon. Select System Settings from the dropdown.

2) Locate the Company Logo icon on to the left of the screen. If you have not previous uploading a logo, you will see a cloud icon. If you have previously added a logo, you will see that logo in the square box.
3) Click in the centre of your existing logo or cloud icon. Select the image (in a png or jpeg format) from your computer and press Open. The logo will now be updated in the Logo icon square. This may take a minute or 2, please be patient.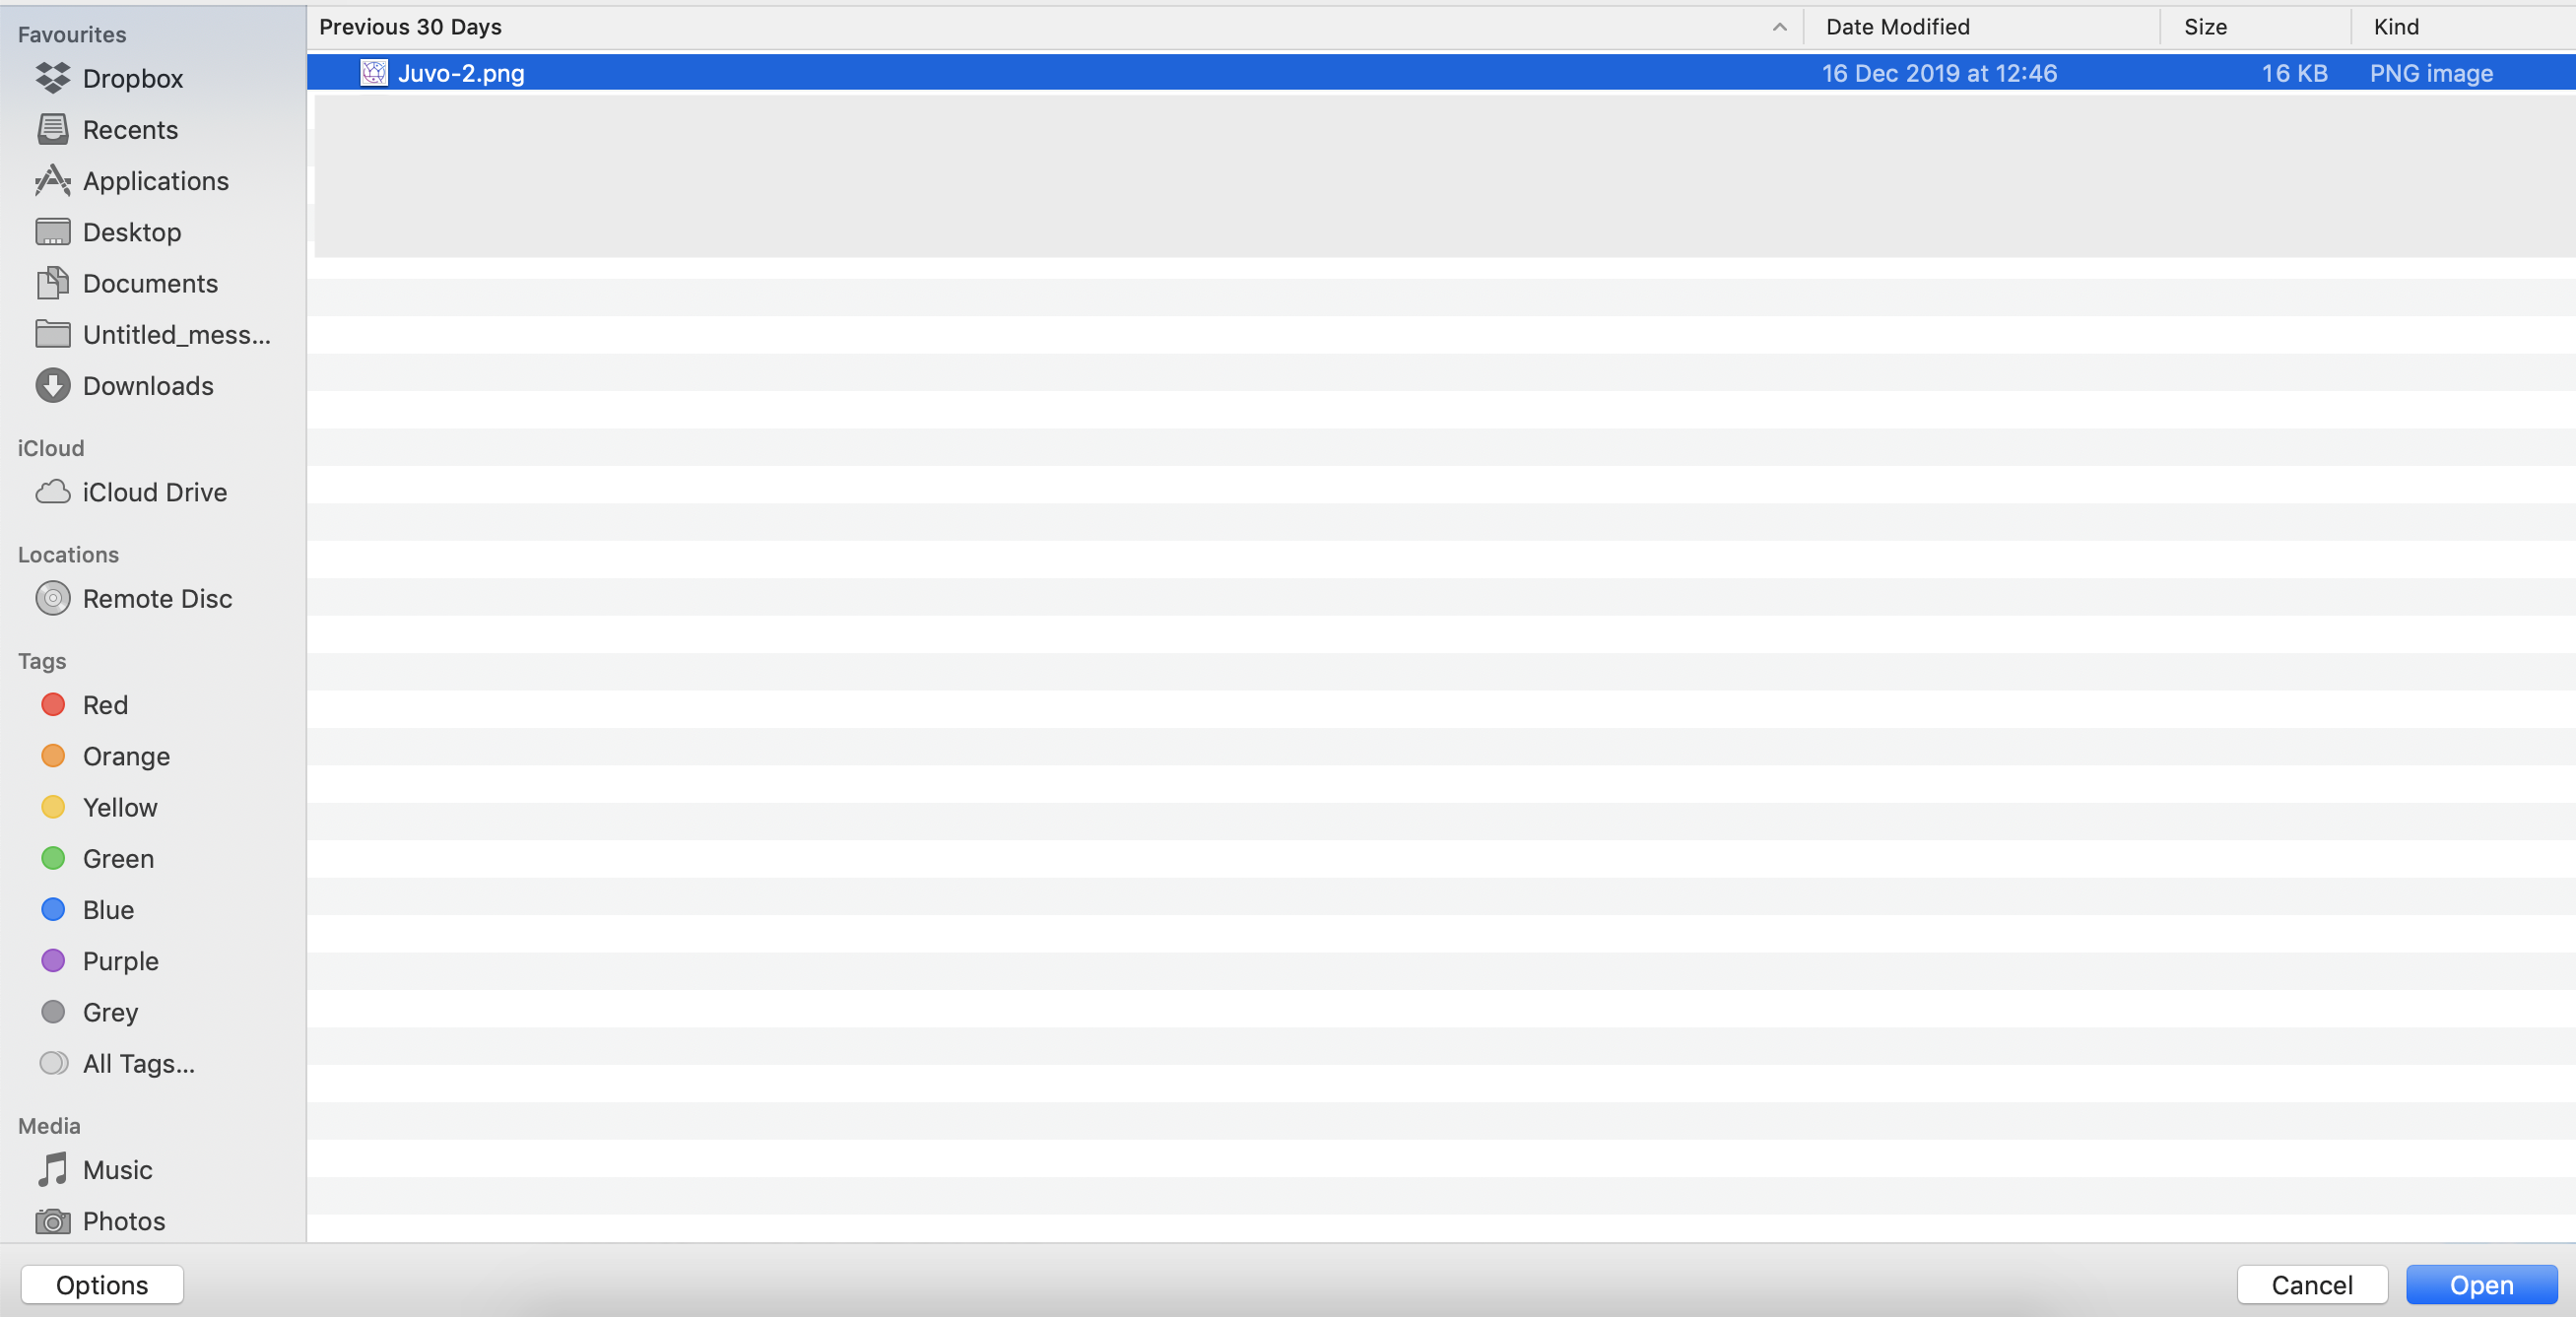
4) Now press the Save button. Your logo will now be updated on any future template letters, statements, brochures, window cards and emails sent.